Tag Archives: science

3RD GRADE GLUE RESIST PASTEL LEAVES

11 Oct

glue resist pastel leaves. colors of my day blog.

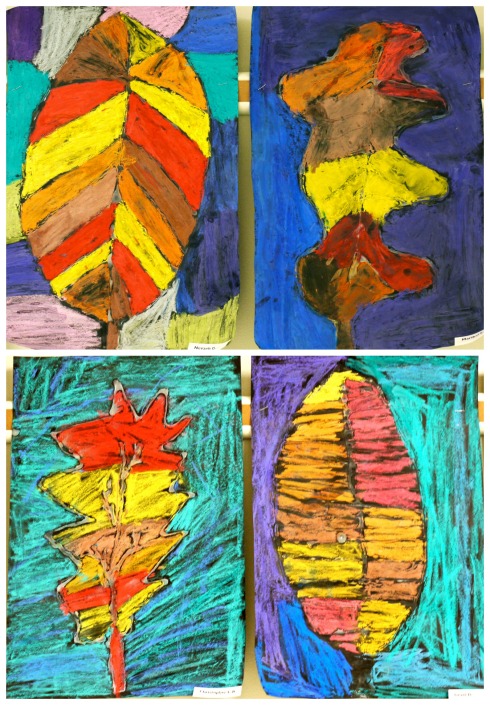
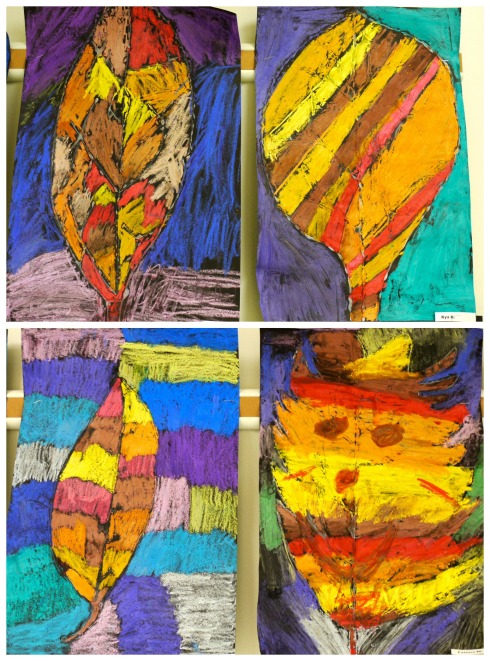
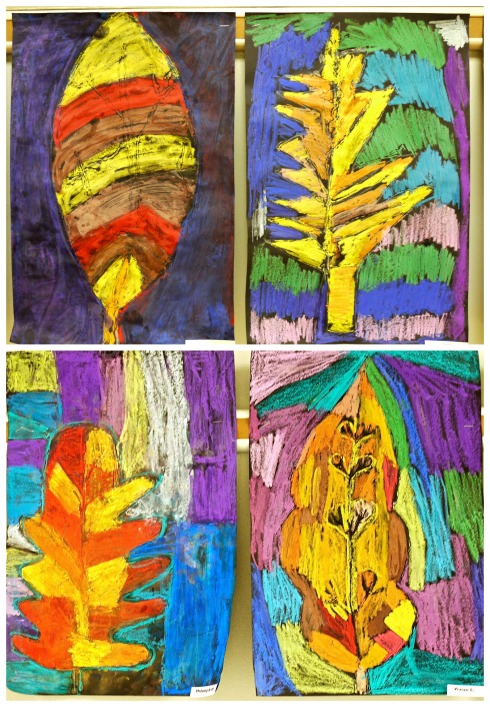
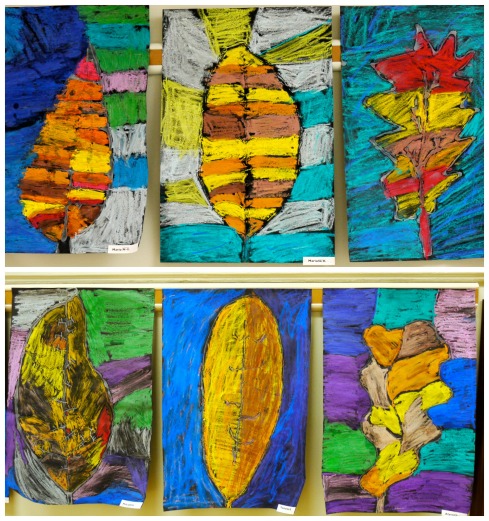
Fall is such an inspiring time of year and I love to incorporate the changing leaves into art lessons whenever possible. I am currently working on this lesson with my third graders this year; these examples were created by the students at the bilingual school I previously taught at.

We start out the lesson by viewing examples of real leaves that students bring in. I also like to show them Autumn Leaves by Ken Robbins and Leaf Man by Lois Ehlert for additional examples and inspiration. We study the contours of the leaves, noting how some have wavy, zig zag, or curvy lines. Some are symmetrical while others aren’t. We talk about their shapes and the patterns the veins make.

glue resist pastel leaves. colors of my day blog.

After sketching out ideas, students draw one large leaf on black paper then outline with white glue. The next class, we view some close-up leaf paintings by Georgia O’Keeffe and study the real leaves again, noticing how the colors blend softly together. Students use warm colors for the leaf and cool colors for the outside to create a bold contrast.

glue resist pastel leaves. colors of my day blog.

glue resist pastel leaves. colors of my day blog.

Each student’s leaf turned out so bright and colorful and the student’s loved how the lesson connected to the current season. They were so excited to share both their found leaves and their beautiful artistic representations!
glue resist pastel leaves. colors of my day blog.

3RD GRADE PATTERN PUMPKINS

30 Sep

P1060227

We have been busy settling into the new school year and have just begun focusing on our fall-themed projects. The next month I will be posting some spectacular and colorful art projects created in the past autumn seasons. The leaves here in Wisconsin have just started to change so what perfect timing!

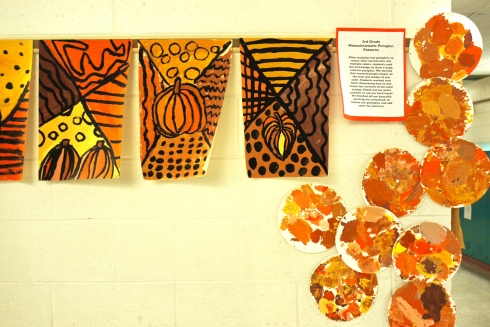
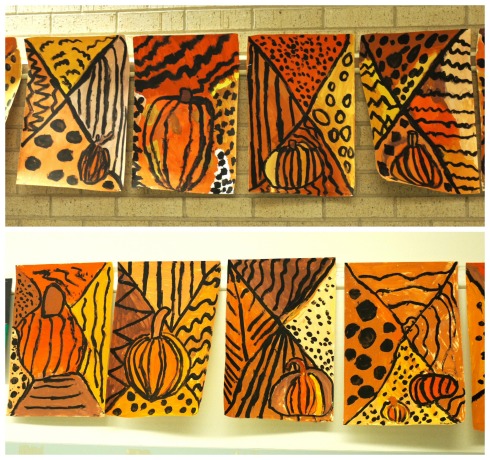
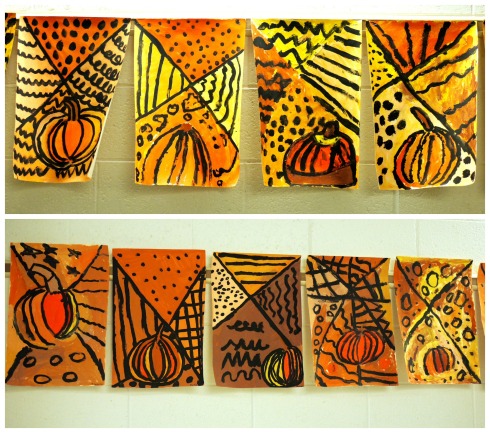
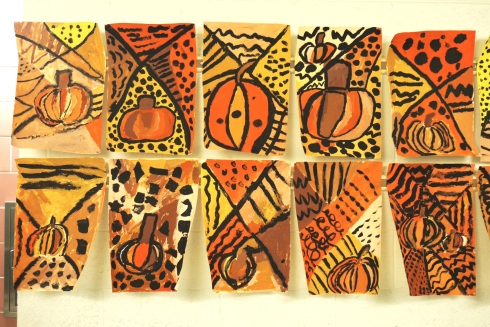
This was a lesson third grade students worked diligently on last fall. We started the lesson by observing a real pumpkin and making a list of adjectives to describe it. Students noticed that the pumpkin was shaped like a sphere with curved lines that started at the stem. These lines also gave the pumpkin a bumpy texture. We practiced drawing the pumpkin from life, making sure to carefully observe each detail in order to create the most realistic pumpkin. Once confident, students drew another large pumpkin on their final papers. They then drew two diagonal lines to create a background.

pumpkin pattern2

The next class, students again observed the pumpkin and came up with a list of colors they noticed. We practiced mixing new colors out of yellow, orange, white, and brown paint. This was by far the most joyful part of the project as students were amazed at all the new color combinations they were able to create. They blended colors for the pumpkin then also had to mix 4 different tints for the background.

pumpkins pattern1

Lastly, students used their knowledge of line to create bold patterns for their backgrounds using black paint. The simple outlines and patterns also helped to emphasize their lovely pumpkins as well as all the great new color combinations created.

P1060220

Inspired by this lovely pumpkin project.

2ND GRADE TED HARRISON INSPIRED LANDFORMS

3 Apr

chalk land2

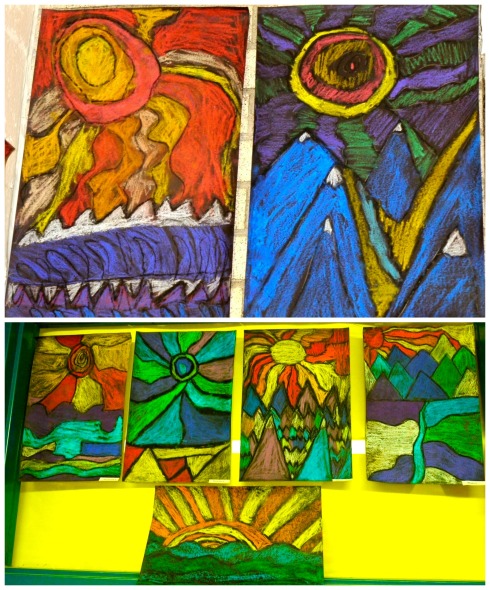
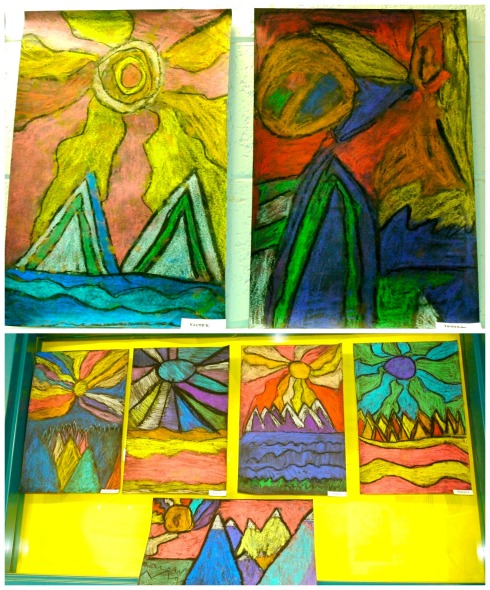
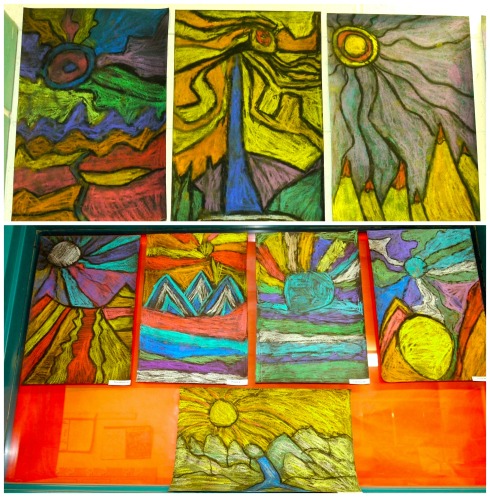
When I found out my 2nd graders were studying landforms in their Social Studies unit, I knew I had to try these Ted Harrison landscapes again. We went about the project in a pretty similar fashion but this time, instead of using glue to trace the lines, the students traced over their lines at the beginning and end with black oil pastel to help their designs stand out. My students were so eager to share and apply their knowledge of landforms and their enthusiasm really shone through on the final artworks.

Chalk pastels are definitely one of the messier mediums but there’s something about their vibrancy and boldness that make each project stand out. I’ve found it helpful to give students a baby wipe after each chalk session–cuts down on clean up time at the sink and encourages the more mess-adverse students to continue knowing that they can spiff themselves up at the end.

chalk land3 chalk land4 chalk1

2ND GRADE 3D TOPOGRAPHIC MAPS

2 Apr

topo maps 4

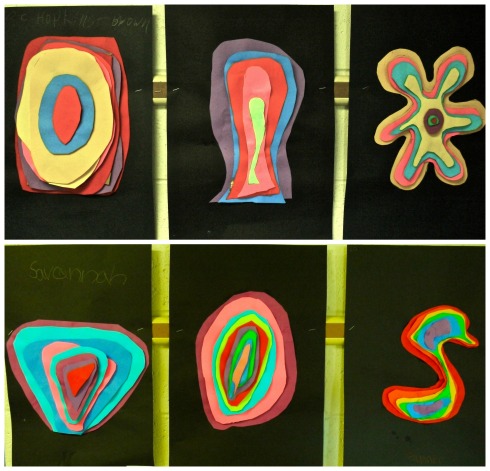
2nd grade students created these colorful 3D topographic maps to correlate with their classroom unit on landforms. We studied some of the ways in which these types of maps are used by scientists and environmentalists and viewed real-life examples. We also were impressed by these awesome works of art created by paper artist Jen Stark. Students got to work creating their first large shape and had to follow a formula to continue making smaller, concentric shapes. We used small recycled cardboard pieces between each layer to make our maps pop. The technique was tricky at first but the second graders rose to the challenge and were able to create these masterpieces!
topo maps1 topo maps2

topo maps3

4TH GRADE CAMOUFLAGE ANIMALS

25 Mar

Image

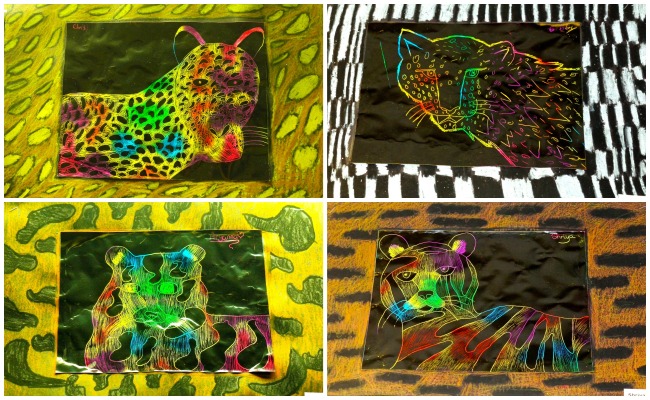
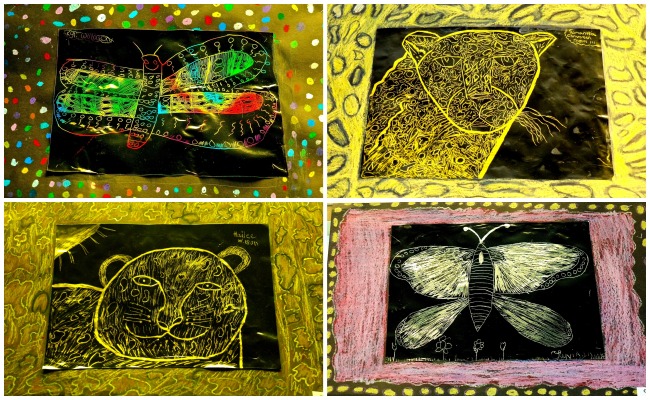
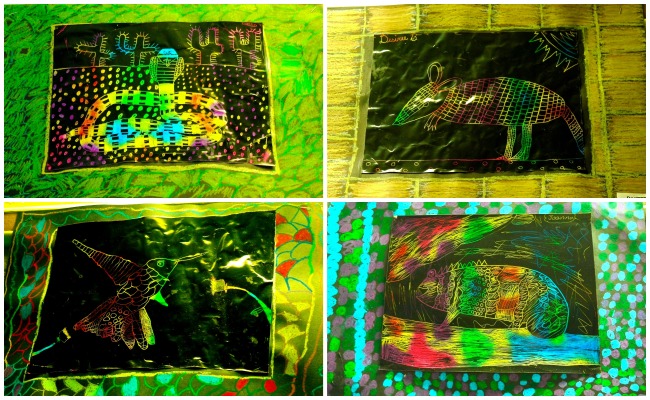
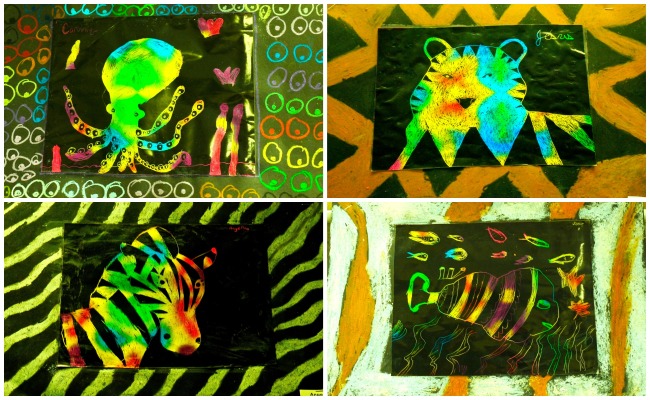
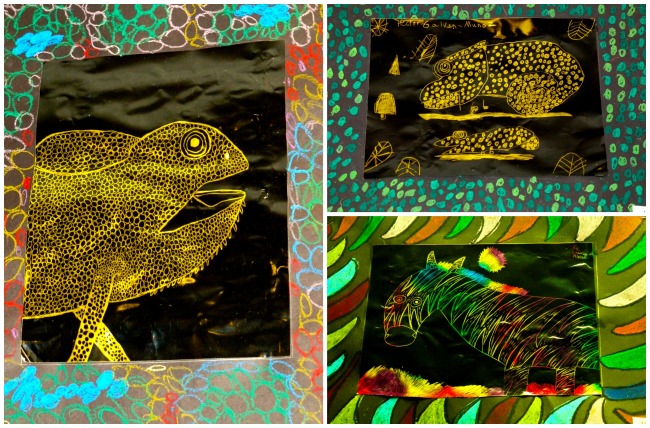
Classes have been busy this spring exploring our IB units in depth. 4th graders were learning about animals’ use of mimicry and camouflage as a means of survival in their homerooms. To begin our unit, we watched this great video about animal camo. We viewed different animal patterns up close and students had to choose an animal with a distinctive design or texture for their projects. After printing off reference photos, students got busy on their practice drawings, trying to make their animals as realistic as possible. Once confident they had their best, students transferred their drawings onto the scratch art paper. We learned different scratching techniques with the stylus tool to help represent the texture of the animal’s fur or skin. For the finishing touch, students recreated their animal’s pattern with oil pastels for a border, again trying to use blending and coloring techniques to represent that texture. Students were very focused and engaged while working the entire quarter on this project! The results are absolutely amazing.

Image

Image

Image

Image

Image

Image

Image

Image

2ND GRADE GIRAFFES WITH ADINKRA SYMBOLS

16 Sep

Image

It sure has been awhile since I have updated but here I am! I transferred to a new elementary art position this summer and have been busy these first few weeks of school settling in. I will share more about that adventure soon! For now, I want to continue with my posts from last school year. There are so many wonderful creations to show.

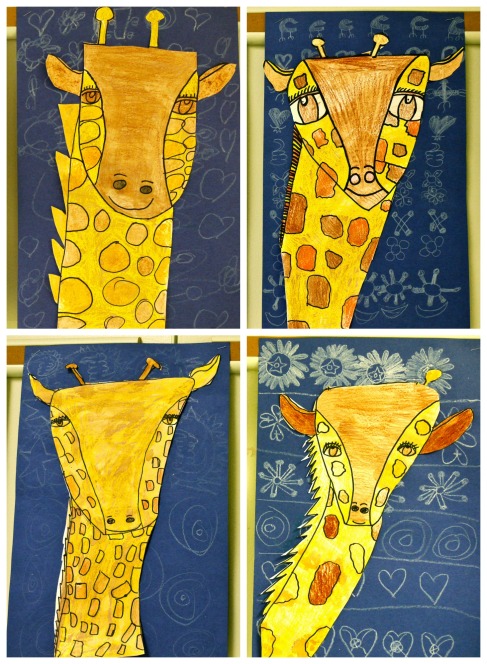
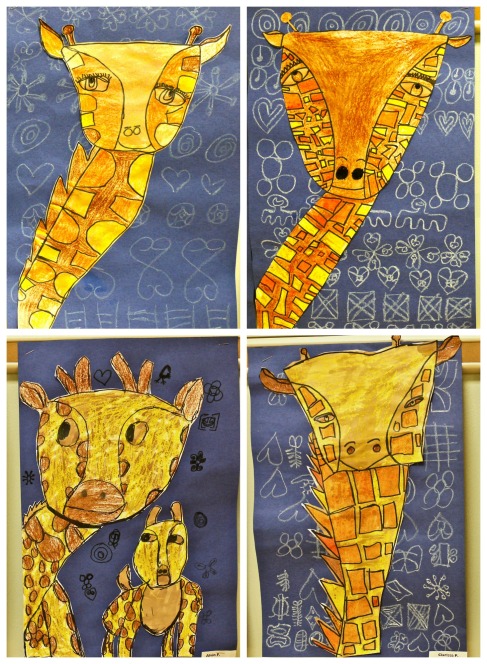
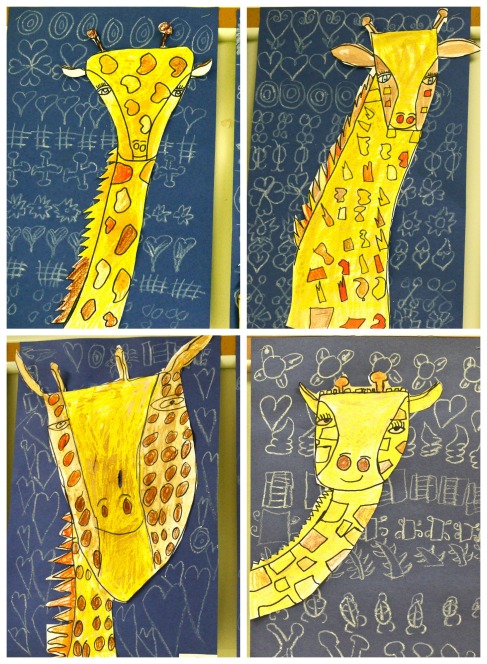
My second grade students created giraffes for their African Art project. We studied some interesting facts about the giraffe through a NatGeo video. Did you know giraffes can crush a lion’s skull with their long legs? Or that their feet are the size of dinner plates? How about that they only sleep for about 20 minutes a day and eat 75 pounds of food daily?? Fascinating stuff. After studying the patterns and details of giraffe faces up close, students began their sketches.

After tracing pencil lines with a Sharpie, students used crayons and earth toned watercolors to give their giraffes a resist texture. For the background, we studied the traditional Adrinka symbols and viewed this video. Students had handouts to reference and created a pattern using their favorite symbols. They look great together!

Image

The student above wanted to draw a baby giraffe too.

Image

Image

4TH GRADE AFRICAN ZEBRAS

29 Jun

Image

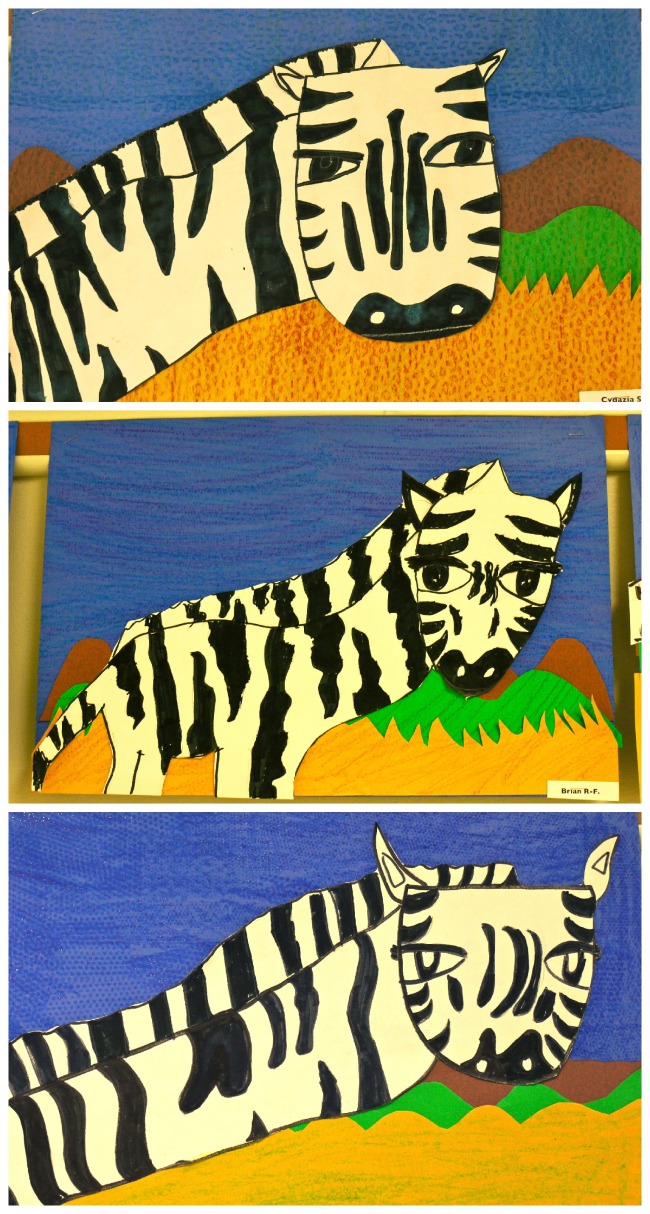
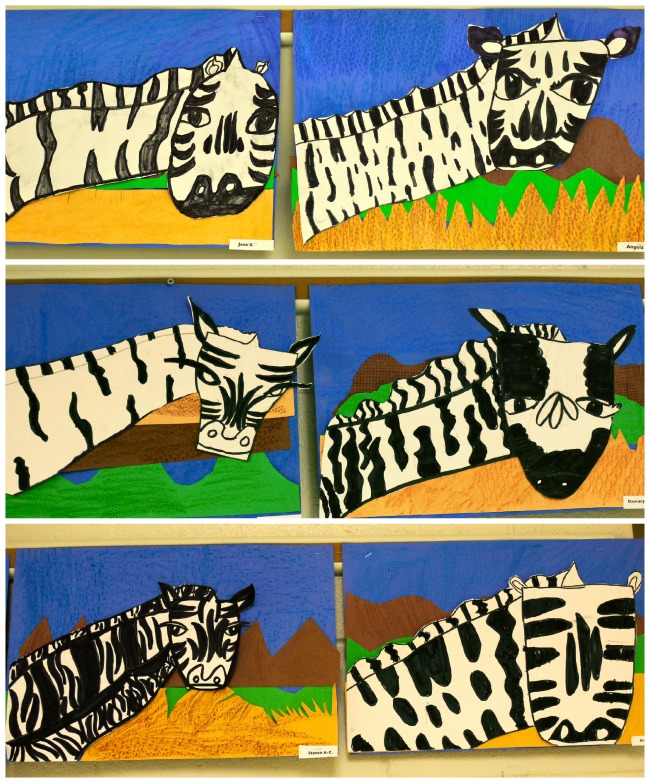
My 4th Grade students focused on the zebra for their African Unit lesson. To start off the project, we viewed many photographs and read some facts about the zebra from the San Diego Zoo website. They were fascinated to find out that their stripes help to confuse predators while in a large group. We also had to go on a fact-finding mission to answer the age-old question: “White with black stripes or black with white stripes??”. Turns out both are true!

Armed with this background information, students jumped right into their practice drawings, using a guide to give them confidence. It’s kind of funny that they all ended up facing the same direction, but each one does have their own personality! Students were so connected throughout the project and took great pride in their final drawings.

Lastly, we studied the characteristics of the zebra habitat, the savannah. We studied many photos of the landscape, noticing how there are many layers and textures found in a savannah. In order to give the illusion of depth, students cut different colors of paper to create grass, hills, and mountains. Beforehand, students used rubbing plates to create textures on their papers to create more interest. The final projects are so striking.

Inspired by these colorful zebra projects found on MaryMaking.

Image

Image

K TRIANGLE LEOPARDS

17 Jun

Image

School is finally out, so that means I will have more time to share some spectacular art projects here. I plan on updating at least weekly so keep checking back for more!

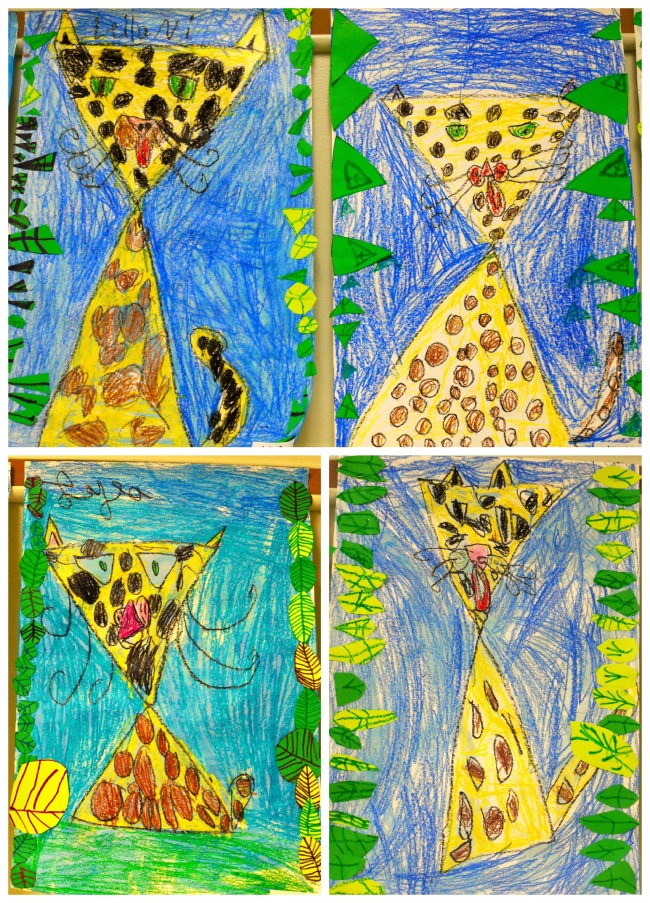
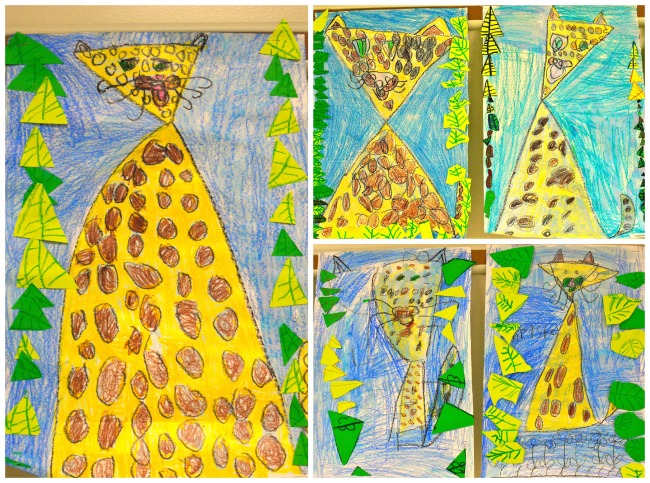
My Kindergarteners worked on these fantastic leopards during our African Art unit. Every year, we have a schoolwide Black History program to celebrate the contributions and heritage of African Americans in our world and community. In art class, I choose a relevant theme for each grade level to study and draw inspiration from for an art project. This year, I focused on the rich traditional art forms found in Africa as well as some of the most well-known animals native to the continent. My students absolutely loved learning about the animals.

For Kindergarten, we continued our exploration of simple shapes to create a triangle leopard. We read Bringing the Rain to Kapiti Plain by Verna Aardema to start off the lesson. We viewed photos of real leopards and learned some interesting facts. Students then were given a step-by-step drawing sheet to help guide them along. They added all the details with crayons then painted blue watercolor over to create a resist effect. Lastly, green leaves were added to help their leopards appear to be hiding in the trees. They all turned out so great!

Inspired by these tigers found on We Heart Art.

Image

Image

K GROUCHY LADYBUG PRINTMAKING VERSION

24 May

Image

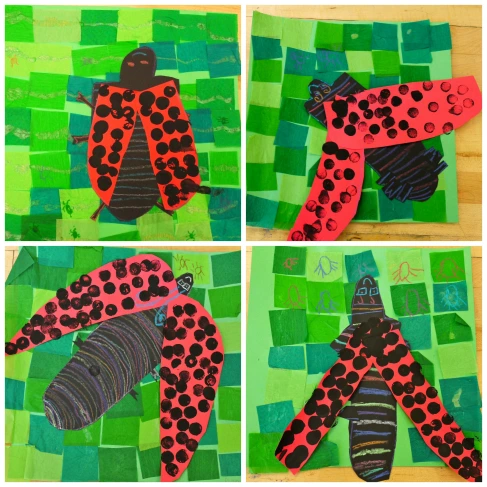
This was the first version of The Grouchy Ladybug lesson I did with my Kinders, way back when I first started teaching! After reading the story, students use different shades of green tissue paper for the background. They viewed examples of ladybug’s anatomy, then used construction paper crayons to color the shapes and designs. They made sure to count all six legs. After creating the body, students cut out two red wings and attached them to their ladybugs. The last step was using foam stamps to print their black spots (this was some type of round, foam weatherstripping gap filler my husband helped me find at Menards).

I love how each ladybug seems to be in a different stage of flight or rest.

Image

K GROUCHY LADYBUG TWO WAYS

24 May

Image

This is a great May lesson to explore texture and read one of my Kindergarteners’ favorite stories: The Grouchy Ladybug by Eric Carle. Students find this story so amusing and love the part when the great big whale smacks the ladybug back to his leaf. It’s a good lesson on being kind and friendly instead of mad and grumpy.

After reading the story, students continued their knowledge of texture as they completed a crayon rubbing over texture plates to prepare their papers for their grass and dirt. Then, they used their cutting skills to cut a bumpy line for their dirt and strips of green for the grass which they glued to their backgrounds.

The next class, we went over the parts of the ladybug, noticing how they all have different patterns of black spots. Students created however many ladybugs they wanted and glued them to their grass and sky. They made sure to add six legs and some tiny antennae to finish off their bugs. They turned out great!

Check back later for the printmaking version of this lesson!

Inspired by this project found on Artsonia.