Archive | process art RSS feed for this section

PreK KENTE CLOTH COLLABORATION

8 Dec

Image

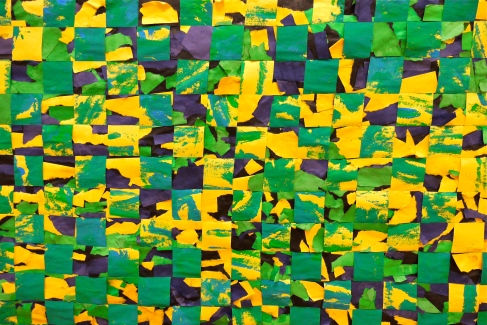
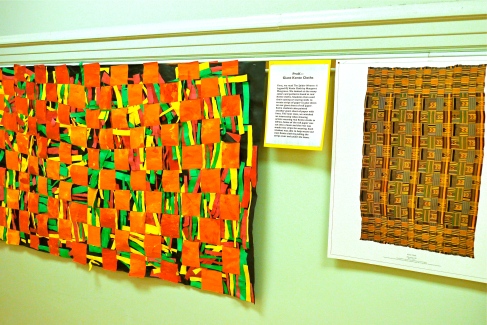
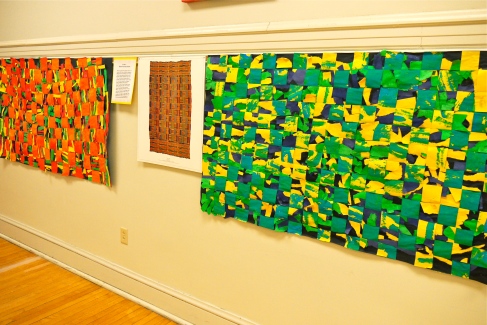
Closing out our African Art Unit, PreK students helped to make these giant collaborative Kente Cloths over four 30 minute class periods. First, students used their fine motor skills to practice cutting strips of paper in some of the traditional Kente cloth colors. The next class, students took turns gluing the strips to large butcher block sheets of black paper. The third class, they tried out some color mixing on oversized paper. For the grand finale, we watched this great video showing examples of the Kente cloth and artisans weaving them skillfully on large looms. We learned when you weave you have to go over and under like a pattern. Ahead of time I folded and cut the black collaged paper into a huge warp and the painted paper into strips for the weft. Students took turns weaving carefully until each Kente cloth was complete. What a statement they made!

Inspired by this project found on Artsonia.
 Image

Image

Image

ANNUAL PREK-5TH SPRING ART SHOW

13 May

Image

Image

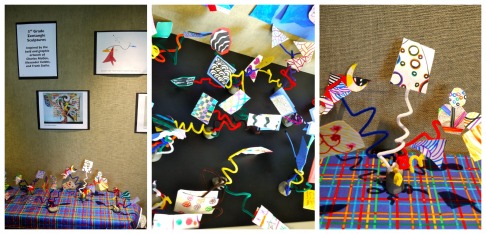
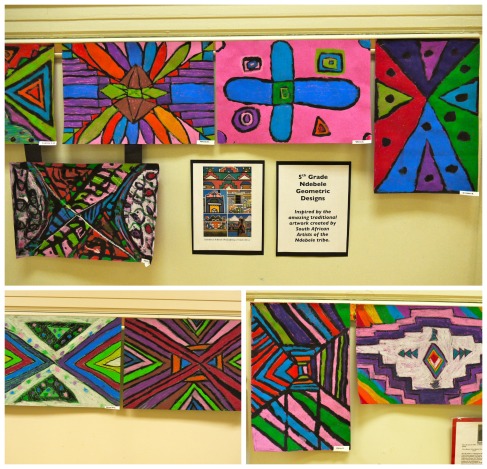
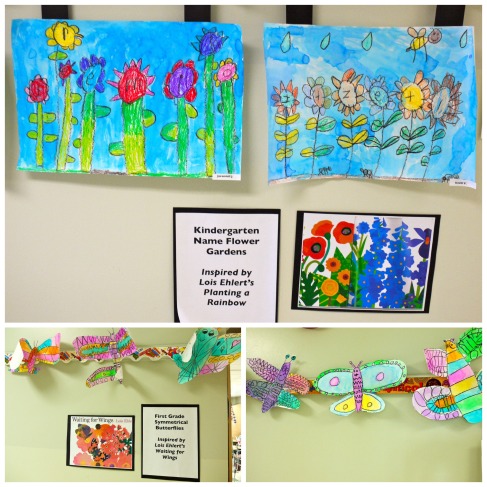
We recently held our all school Spring Art Show for students and their families. I displayed our latest projects plus a sampling of the wonderful artwork created throughout the year. Every child had at least one piece of artwork on display. The PTA and many of my awesome colleagues helped with an Ice Cream Social that night as well, which really seemed to bring in tons of families. My principal has been really trying to get our families more involved in the school and it was great to see such a huge turnout for our art night. Enjoy some more photos from the big night!

Image

Image

Image

Image

Image

Image

Image

Image

Image

Image

Image

Image

K MONDRIAN INSPIRED COLOR MIXING

31 Mar

Image

My youngest students always find our color mixing unit so magical. My favorite book to introduce the concept is Mouse Paint by Ellen Stoll Walsh. They love guessing what colors the mice will mix up next and I find many of my students I had previously in PreK will actually remember the formula for creating new colors! They are amazed that you can create so many new colors out of the three primaries.

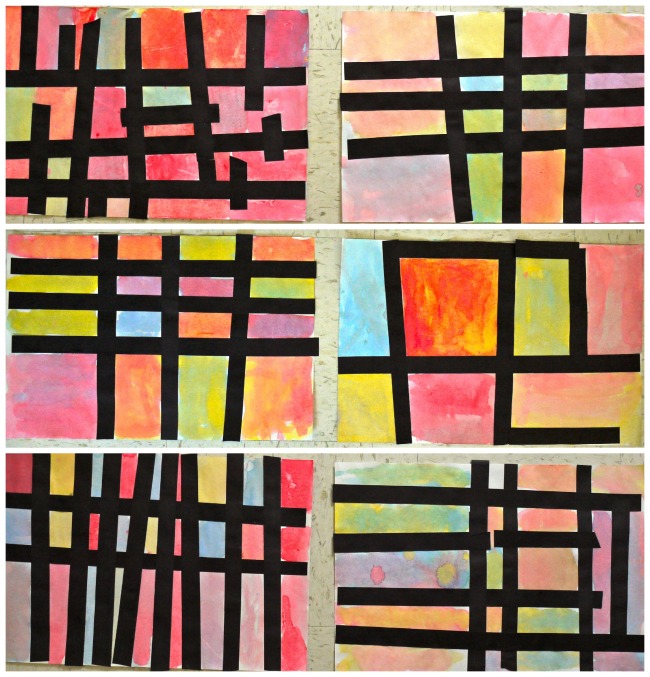
After talking about the primary colors, I showed them a Powerpoint of Mondrian paintings, where we noticed that he used lots of rectangles and squares as well as the primary colors. They made a collage with black paper strips, creating different sized rectangles and squares.

The next class we went over the color mixing formulas. I worked with the students in small groups, making sure to only keep two primary colors at each table. So, I had an orange table, a green table, and a purple table. This really helped to give them the full color mixing experience rather than ending up with brown paint all over their papers. They mixed the colors inside each square or rectangle. They all had such a blast and were thrilled to discover they really could make a new color just by mixing two primary colors. Success!

Inspired by this project found on Artsonia.

PRESCHOOL DOT COLLAGES

6 Mar

Image

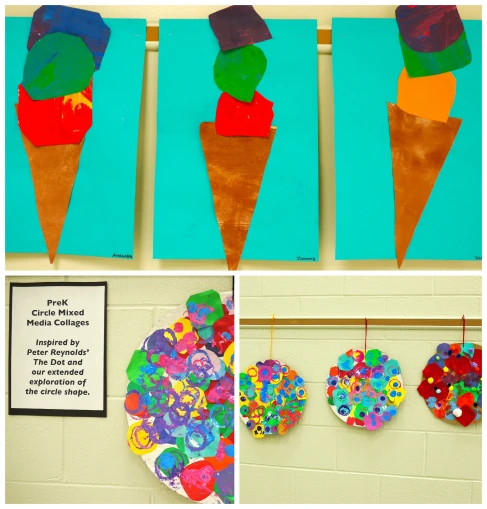
My PreK students were learning about the different types of shapes. To introduce circles, we read The Dot by Peter Reynolds.

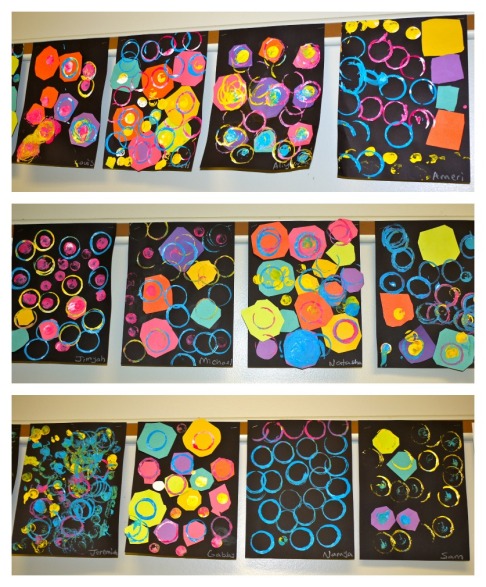
Students then used their cutting skills to trim multi-colored squares into small, medium, and large circle shapes. After pasting the circles down, recycled paper tubes and corks were used to print large and small circles or dots all around their papers. I like how some of the kids figured out they could print a small dot inside a large one.

This simple project gave my preschoolers a chance to continue to hone their fine motor skills while also creating a bright, bold work of art!

Inspired by this art project on Art is Basic.

Image

3RD GRADE OWL MOON LANDSCAPES

3 Mar

Image

Last year my 3rd graders created winter landscapes inspired by Jane Yolen’s Owl Moon. This quiet, simple story filled with descriptive language and metaphors, as well as the muted watercolor illustrations, alludes to the stillness of a winter’s night and the magical feeling a child gets when going on a special adventure for the first time. The story always gives me goosebumps. We watched the video version of the book as an introduction for the lesson.

Afterwards, students created a watercolor wash for the background, using the cool winter colors found in the story. After painting, salt was sprinkled over the paper to create additional texture. The next class, students viewed photos of winter tree silhouettes and used recycled cardboard to print a winter tree and snow. Q-tips were used to create falling snow and the owls sitting on the branches. We used white tempera paint but I would recommend acrylic if available as it would be more opaque. Each student’s winter landscape looked as quiet and peaceful as the story.

Inspired by this project found on Kids Artists.

Image

4TH GRADE TEXTURE COLLAGE POLAR BEARS

3 Mar

Image

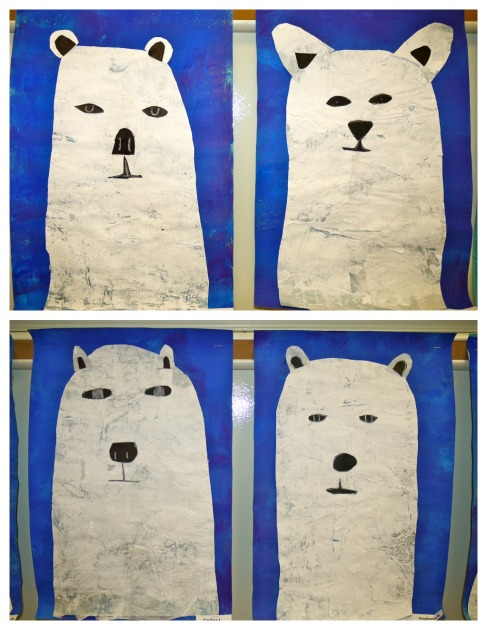
Last year my 4th graders created these texture collage polar bears inspired by this artwork by artist Ryan Fowler. I liked the variation in texture on his polar bear print and wanted to give my students a chance to explore different collage and painting techniques. After viewing Fowler’s artwork and a Powerpoint with interesting polar bear facts and photos of both the bears and their habitat, students got to work creating their textured papers. On a light blue piece of construction paper, students brushed a glue mixture over ripped and crumpled pieces of white tissue paper to create a rough texture.

The second class, students used a brayer to roll white paint over their textured paper. On a second sheet of turquoise paper, they rolled blue, purple, and light blue paint for the background, to represent the cool colors found in the polar bear habitat. I encouraged them to go with the process of rolling paint, allowing some of the paper to show through to create variation. This especially helped bring out the texture on the prepared light blue paper. Lastly, we reviewed Fowler’s print and discussed how to create a simplified, stylized polar bear. Each one seemed to have a personality as the students added the details. They turned out great! 

Image

K WATERCOLOR WINTER LANDSCAPE

1 Mar

Image

Image

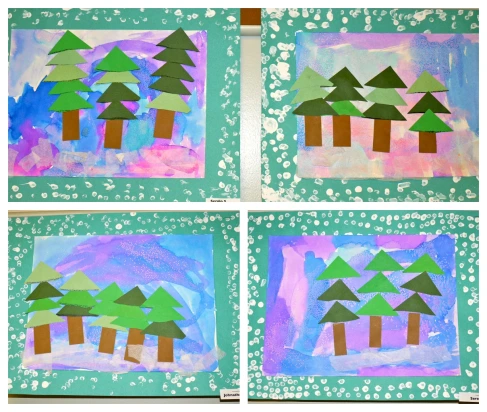
This Kindergarten project from last year went along the same lines as my PreK’s winter mural. Again we read the book Little Tree by e.e. cummings, which has lovely watercolor illustrations. Students used soft, cool colors to paint a winter sky using a watercolor wash technique. Everyone was so quiet and focused as they painted their papers. Their favorite part was sprinkling on a little salt to give it a sparkly, unique texture. The next class students learned how to cut two triangles from one square shape. After they had a pile of triangles going, they glued on rectangle trunks to their watercolor paintings and built their trees on top. They ripped some white tissue paper pieces for a snowy texture. The last class, we read Snow by Cinthia Rylant, a book with descriptive, poetic verses of all the different types of snow. Students printed snow flakes using a q-tip onto their turquoise papers, the perfect frame for their peaceful winter landscapes. Notice the tiny, cozy cabin one of my kiddos added to hers.

Image

PRESCHOOL WINTER SHAPE TREE COLLAGE WITH PRINTMAKING

1 Mar

Image

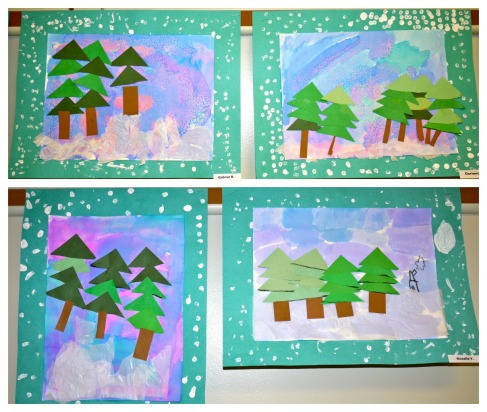
Last winter my preK students worked on these fabulous snowy day tree collages to use their cutting, gluing, printing, and listening skills. We read three great winter books throughout this project to inspire our artworks: It’s Winter by Linda Glaser, Winter Trees by Carole Gerber, and Stranger in the Woods by Carl R. Sams & Jean Stoick.

Students first used pine branches to stamp snowflakes onto their blue papers using white paint. The next class, we studied pictures of evergreen trees in the books and noticed how they had sharp, pointy edges similar to a zig zag. They used green and white crayons to give texture to their two green paper squares, then were amazed to find you can create two triangle shapes just by cutting a square on the diagonal! This part was a little tricky for some of the kids, but their assistant and I helped them to draw a line for a cutting guide if they needed. Lastly they glued down a brown rectangle for the trunk and arranged their snowy green triangles on top of each other to create their evergreen trees. Beautiful!

PRESCHOOL DANCING SNOWMEN

18 Feb

Image

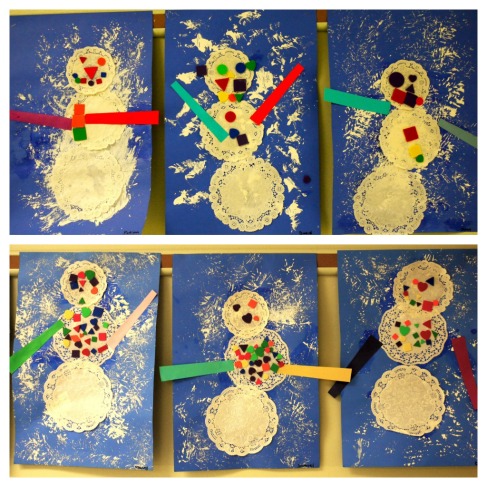
To introduce this lesson, we read Over and Under the Snow by Kate Messner, which tells about all the animals that live under the snow and ice during the winter. I cut small pine branches from our Christmas tree at home before we put it on the curb and brought them to school. My students dipped these branches in white paint and stamped them all over their papers to create snowflake shapes. My art room smelled so good that day and the kids really enjoyed using real branches.

The second day we read Snowballs by my favorite local author, Lois Ehlert. We noticed all the colorful additions Ehlert used to add details to her snow family. We also noticed how snowmen bodies are made up of large, medium, and small circles that are placed on top of one another. Students arranged their paper doilies from biggest to smallest to create their snow person. They had the most fun using their fine motor skills to glue on foam shapes for the details. Don’t you love how the arms on the snow people make them dance??

Inspired by these snowmen over at a Faithful Attempt.

Image

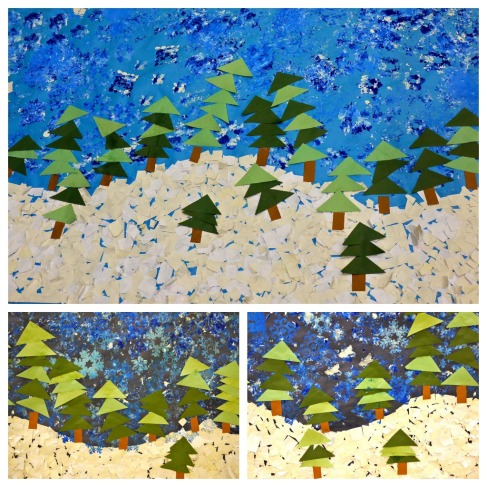
PRESCHOOL WINTER MURAL

18 Feb

Image

My favorite days at school are when I get to teach the 3 and 4 year olds. They are always filled with so much joy + enthusiasm toward art. My focus on these young students is to design lessons that help them to gain experience and skills in art. Cutting, tearing, gluing. On top, underneath, next to. Simplicity is key for the little ones. They learn so much as the year goes on.

For this project, I had my four preK classes create two murals for the winter school concert. Each mural is about 3×5 feet. The first day, we read Snow by Cinthia Rylant. 3 year olds helped me rip white paper and glue it to the mural. 4 year olds practiced their cutting skills on white paper strips. The second class, 3 year olds studied beautiful images of real snowflake crystals and read The Snow Tree by Caroline Repchuk, a gorgeous book with embossed illustrations of a winter forest and the animals that live there. Then they stamped snowflakes onto the sky of the mural using tints of blue. 4 year olds read Little Tree by e.e. cummings, noticing how the tree in the story was a triangle shape. Each student then had a chance to create their own triangle trees for our mural. I love how much character each tree has–especially the topsy turvy ones!