Tag Archives: art + literature

3RD GRADE GLUE RESIST PASTEL LEAVES

11 Oct

glue resist pastel leaves. colors of my day blog.

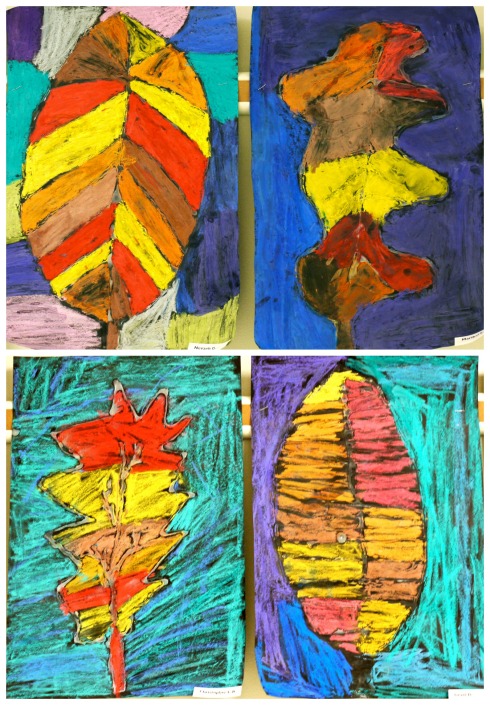
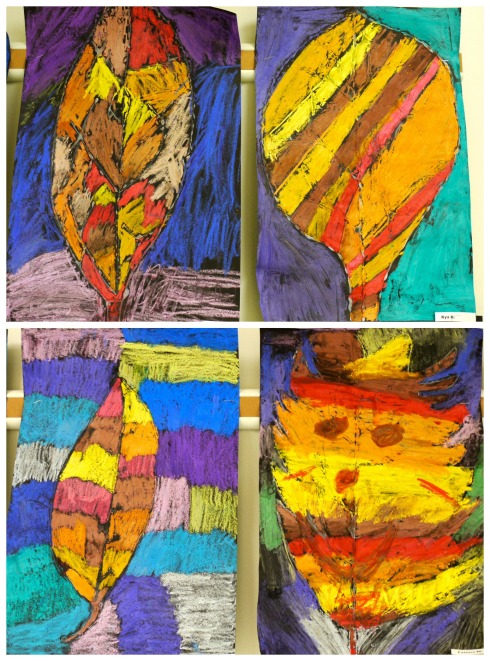
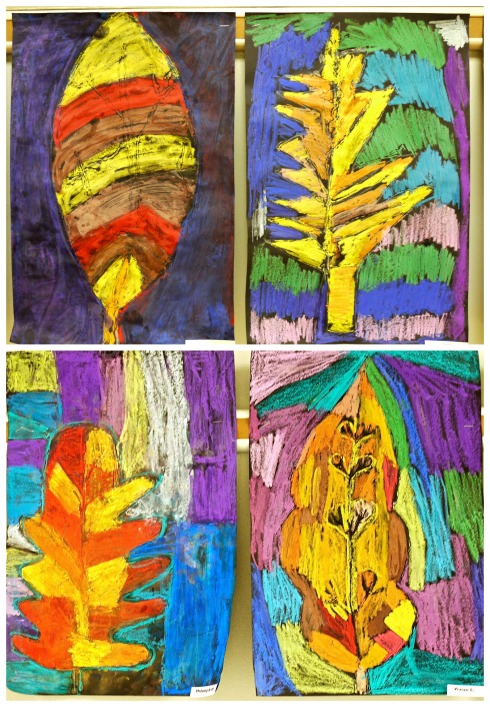
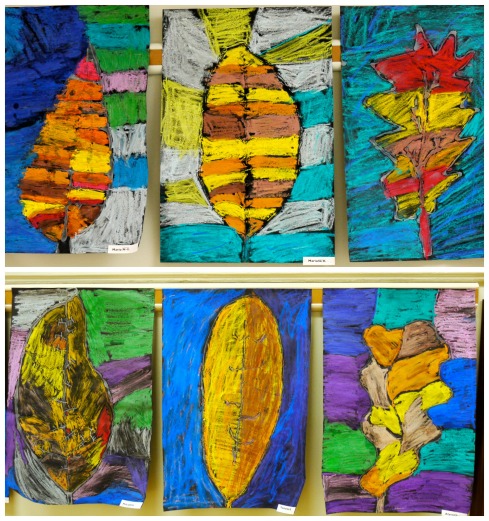
Fall is such an inspiring time of year and I love to incorporate the changing leaves into art lessons whenever possible. I am currently working on this lesson with my third graders this year; these examples were created by the students at the bilingual school I previously taught at.

We start out the lesson by viewing examples of real leaves that students bring in. I also like to show them Autumn Leaves by Ken Robbins and Leaf Man by Lois Ehlert for additional examples and inspiration. We study the contours of the leaves, noting how some have wavy, zig zag, or curvy lines. Some are symmetrical while others aren’t. We talk about their shapes and the patterns the veins make.

glue resist pastel leaves. colors of my day blog.

After sketching out ideas, students draw one large leaf on black paper then outline with white glue. The next class, we view some close-up leaf paintings by Georgia O’Keeffe and study the real leaves again, noticing how the colors blend softly together. Students use warm colors for the leaf and cool colors for the outside to create a bold contrast.

glue resist pastel leaves. colors of my day blog.

glue resist pastel leaves. colors of my day blog.

Each student’s leaf turned out so bright and colorful and the student’s loved how the lesson connected to the current season. They were so excited to share both their found leaves and their beautiful artistic representations!
glue resist pastel leaves. colors of my day blog.

1ST GRADE OIL PASTEL LION COLLAGES

11 Jul

Image

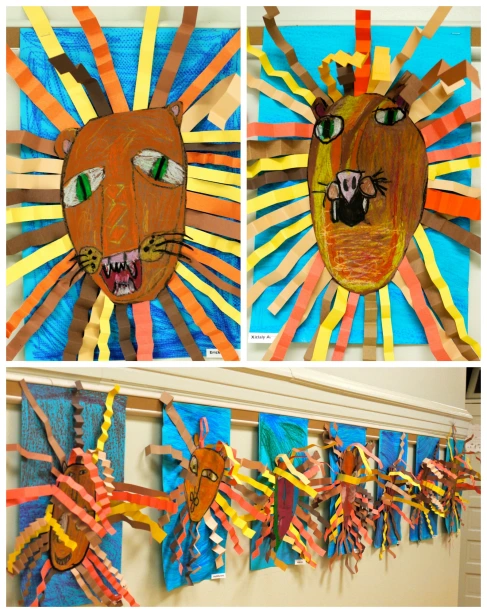
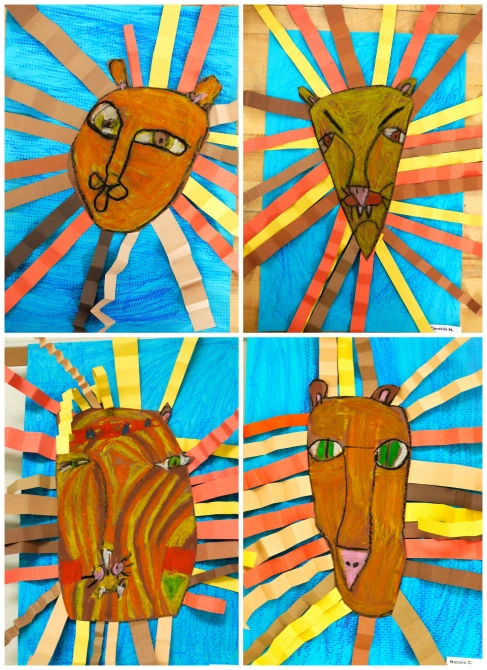
For our 1st Grade African Unit lesson, students studied the lion and created these magnificent mixed-media collages. To begin, we read What the Animals Were Waiting For by Johnathan London, which tells the story of the dramatic cycles of life on the Masai Mara range in Africa. Many different African animals are depicted in rich, oil painted illustrations. On our document camera, we zoomed in on the lion illustration so we could see how the artist carefully blended monochromatic earth tones to give texture and depth to the fur. We also studied real lion photographs to become familiar with their features. Students then were ready to draw their lion faces, blending and mixing earth tones using oil pastels for the fur.

The next class, we reviewed photos of crazy lion manes and students folded strips of earth toned paper to create a wild mane around their drawings. Lastly, students used texture rubbing plates to create interest in the background. They sure brightened up the halls!

Inspired by these awesome lions on Artsonia.

Image

Image

K GROUCHY LADYBUG PRINTMAKING VERSION

24 May

Image

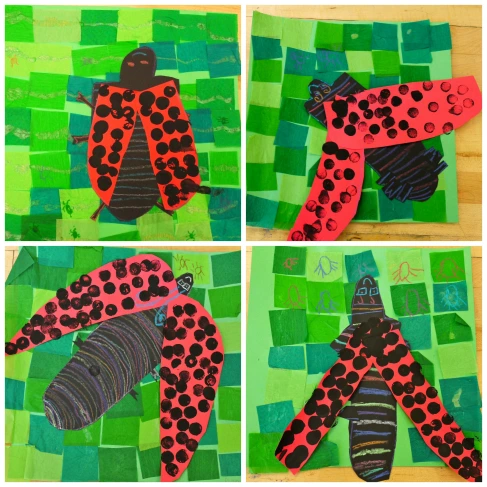
This was the first version of The Grouchy Ladybug lesson I did with my Kinders, way back when I first started teaching! After reading the story, students use different shades of green tissue paper for the background. They viewed examples of ladybug’s anatomy, then used construction paper crayons to color the shapes and designs. They made sure to count all six legs. After creating the body, students cut out two red wings and attached them to their ladybugs. The last step was using foam stamps to print their black spots (this was some type of round, foam weatherstripping gap filler my husband helped me find at Menards).

I love how each ladybug seems to be in a different stage of flight or rest.

Image

K GROUCHY LADYBUG TWO WAYS

24 May

Image

This is a great May lesson to explore texture and read one of my Kindergarteners’ favorite stories: The Grouchy Ladybug by Eric Carle. Students find this story so amusing and love the part when the great big whale smacks the ladybug back to his leaf. It’s a good lesson on being kind and friendly instead of mad and grumpy.

After reading the story, students continued their knowledge of texture as they completed a crayon rubbing over texture plates to prepare their papers for their grass and dirt. Then, they used their cutting skills to cut a bumpy line for their dirt and strips of green for the grass which they glued to their backgrounds.

The next class, we went over the parts of the ladybug, noticing how they all have different patterns of black spots. Students created however many ladybugs they wanted and glued them to their grass and sky. They made sure to add six legs and some tiny antennae to finish off their bugs. They turned out great!

Check back later for the printmaking version of this lesson!

Inspired by this project found on Artsonia.

2ND GRADE COLORFUL CHAMELEON COLLAGES

29 Apr

Image

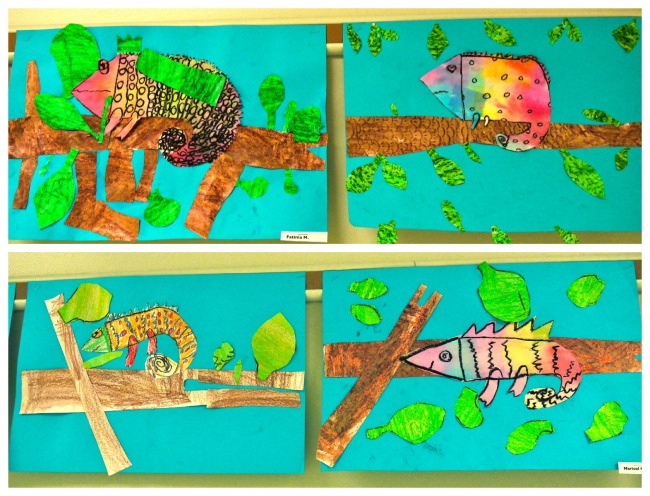
Continuing with the literature-based art theme, here are some spectacular chameleons created by my 2nd grade students last spring during our lizard unit. During this unit, we read two great chameleon books:

Chameleon’s Colors by Chisato Tashiro

A Color of His Own by Leo Lionni

We also viewed some National Geographic Kids videos of real chameleons changing colors. The kids thought they were pretty much the coolest lizards in all creation.

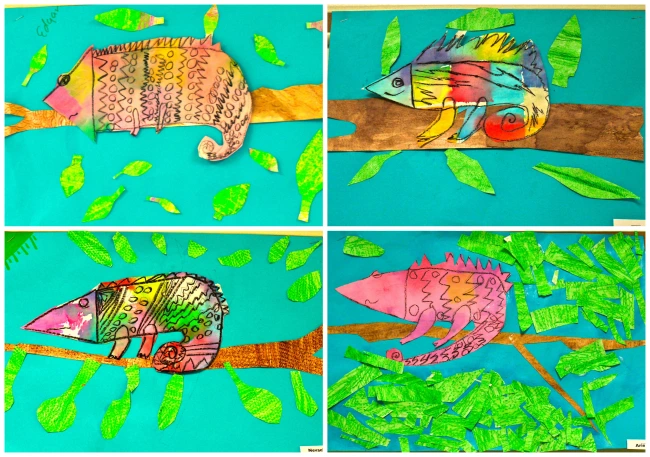
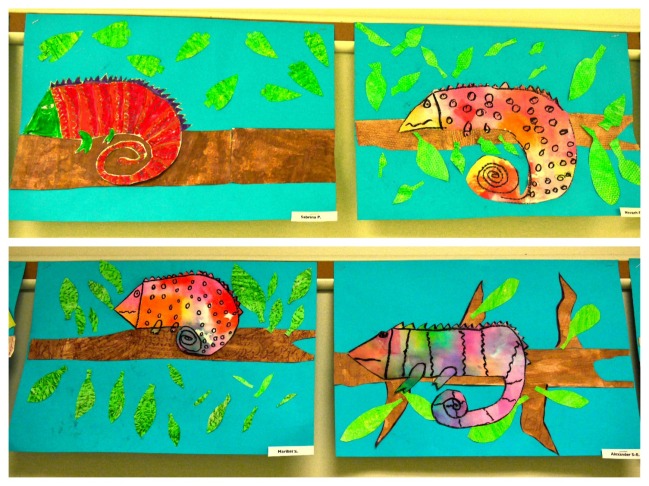
They prepared their chameleon paper by brushing water over multi-colored bleeding tissue paper squares. They used texture rubbing plates to create a texture for their leaf and branch papers using crayons. These papers were then painted over with watercolor, creating a textured wax resist.

The next class, students practiced their chameleon drawing skills using a step-by-step drawing sheet, a lifesaver for my easily-frustrated students! Yet notice how each chameleon still has its own personality. Once comfortable, students created their final drawing on the prepared colorful paper. After cutting a large branch, leaves, and adding their chameleons to their composition, the masterpieces were complete.

Check back later for the 3D lizards from this unit!

These chameleons were inspired by this drawing lesson found on Art Projects for Kids.

Image

Image

1ST GRADE THE TINY SEED COLLAGES

24 Apr

Image

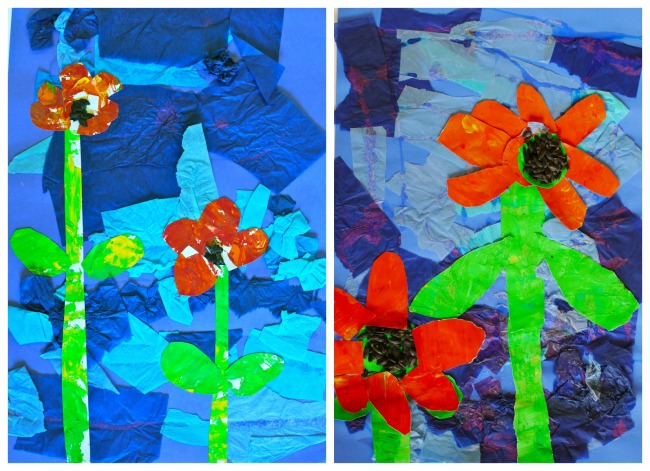
Here is another literature inspired art lesson–a 1st grade flower collage inspired by Eric Carle’s The Tiny Seed. Students first created the background collage using various types of blue tissue and crepe paper. Next, they experimented with color mixing, creating painted textured papers in the style often found in Carle’s illustrations. The following class the students created these vibrant, simple flowers using their painted papers. For a final flourish, seeds were glued to the center just like in the story. Looks like spring!

ImageImage

2ND GRADE ERIC CARLE INSPIRED SEAHORSES & WHY I CONNECT ART + LITERATURE IN THE ART ROOM!

23 Apr

Image

I’ve mentioned this before, but I really do make an effort to incorporate literature whenever possible into my art curriculum. As a kid of a teacher mom, some of my fondest summer memories are visiting the public library to check out stacks of books every couple of weeks. I loved getting lost in the stories, studying the illustrations that sometimes accompanied the book, or creating the settings and details in my imagination.

As an art teacher in a high poverty school, it’s an important job to promote and encourage a love of reading for our students. I have to admit I am still drawn to children’s books and have a passion for sharing their words and illustrations in my classroom. Introducing a lesson with a book helps to calm my students down and get them excited to start their own inspired projects. In my five years of teaching art, I have built my entire curriculum around quality works of literature. I can connect other subject areas like science, social studies, and art history. It’s the perfect starting point for many lessons and I am on a continuous hunt for more amazing books. Here is my Pinterest board where I keep track of my favorites. I am going to share some more of my favorite literature based lessons this week.

First up, Eric Carle-inspired Seahorses!

Image

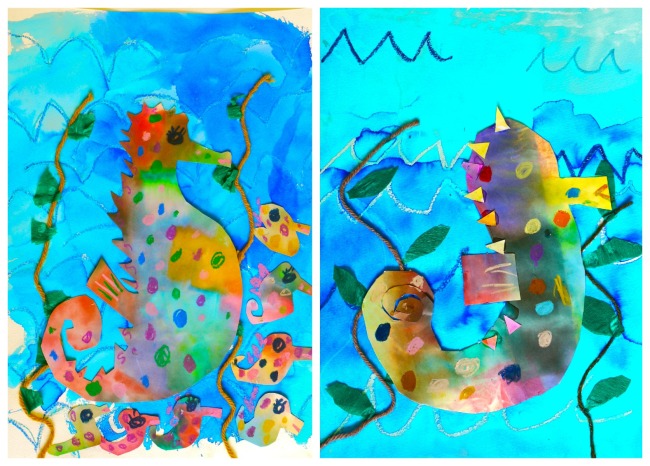
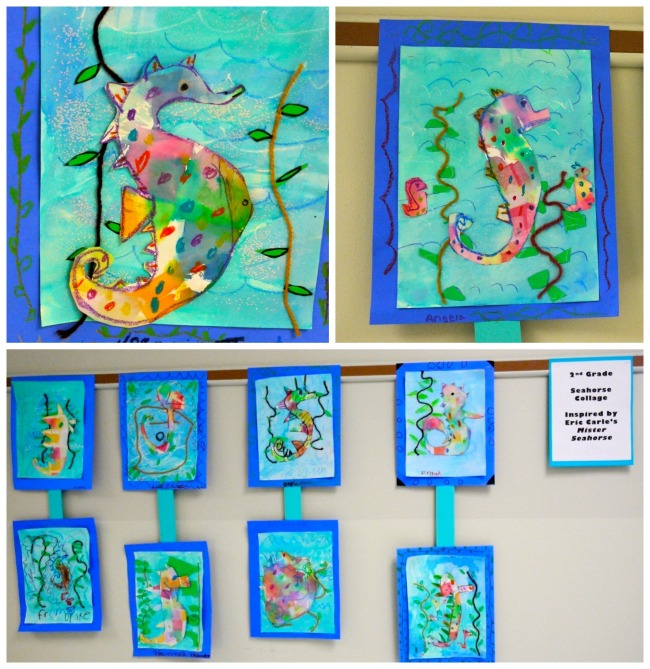
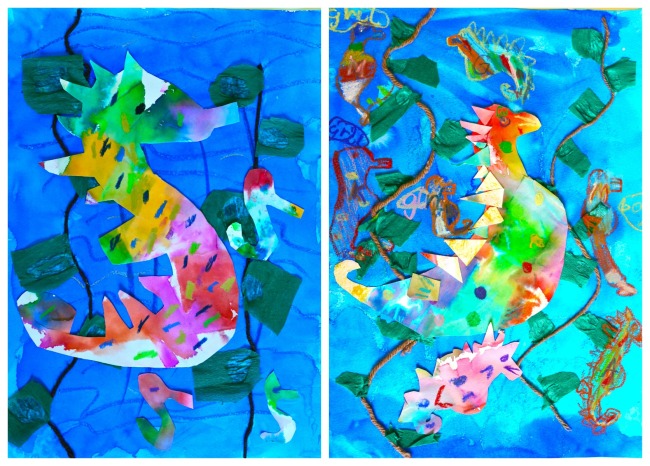
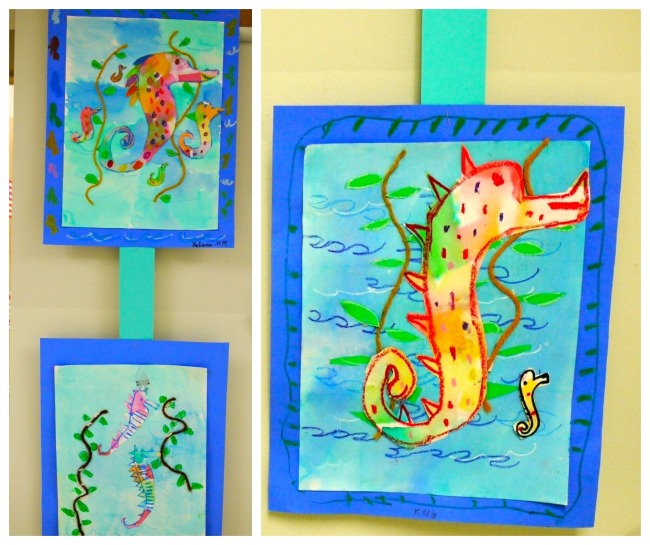
My 2nd grade students read Mister Seahorse by Eric Carle (one of my favorite illustrators to use in the art room!) to start out the lesson. They were fascinated to discover how many sea creature Dads take care of their babies. We also viewed some videos of seahorses swimming as well as many photographs to see how they were shaped. We used bleeding tissue paper the first day to prepare our papers in the style of Carle. Students also painted a wavy background using cool ocean colors. The next class, students cut out their prepared papers into a seahorse shape. You can see some added babies as well. They added floating seaweed to the background then glued their seahorses on top. I think they all turned out so fantastically!

Stay tuned for more beautiful literature-based art.

Image

Image

1ST GRADE UPSIDE-DOWN UMBRELLAS

31 Mar

Image

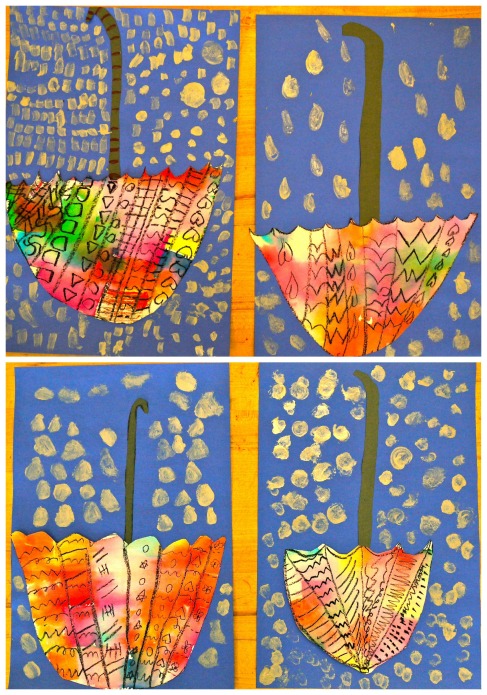
1st grade students read two books to get us ready for our rainy day collages: Rain Rain Rivers by Uri Shulevitz and vintage children’s book The Wet Walk by Carol Woodard. Students used their pattern skills to create designs for their U-shaped umbrellas using a black crayon. Bleeding tissue paper was placed over their umbrellas and painted over with water to create a watercolor effect. 

The next class, students cut out their umbrellas and made a handle. We assembled our umbrellas upside down to catch the rain! For the finishing touch, students painted raindrops using shiny, metallic paint. A great project for the start of spring!

K MONDRIAN INSPIRED COLOR MIXING

31 Mar

Image

My youngest students always find our color mixing unit so magical. My favorite book to introduce the concept is Mouse Paint by Ellen Stoll Walsh. They love guessing what colors the mice will mix up next and I find many of my students I had previously in PreK will actually remember the formula for creating new colors! They are amazed that you can create so many new colors out of the three primaries.

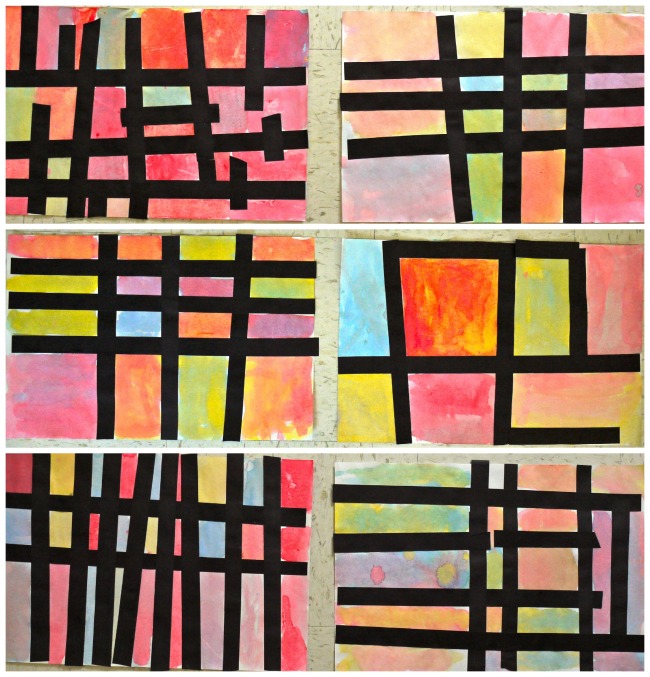
After talking about the primary colors, I showed them a Powerpoint of Mondrian paintings, where we noticed that he used lots of rectangles and squares as well as the primary colors. They made a collage with black paper strips, creating different sized rectangles and squares.

The next class we went over the color mixing formulas. I worked with the students in small groups, making sure to only keep two primary colors at each table. So, I had an orange table, a green table, and a purple table. This really helped to give them the full color mixing experience rather than ending up with brown paint all over their papers. They mixed the colors inside each square or rectangle. They all had such a blast and were thrilled to discover they really could make a new color just by mixing two primary colors. Success!

Inspired by this project found on Artsonia.

PRESCHOOL DOT COLLAGES

6 Mar

Image

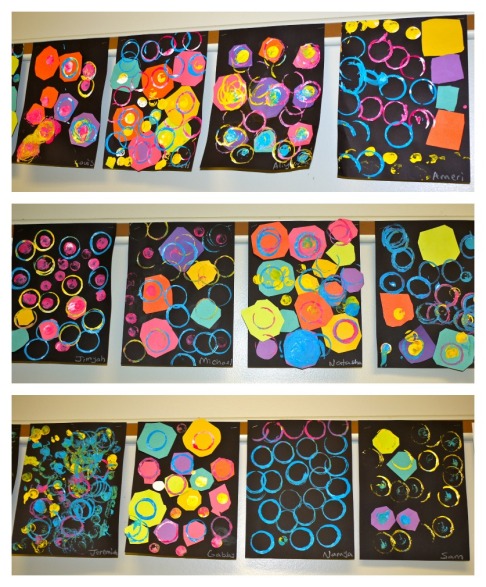
My PreK students were learning about the different types of shapes. To introduce circles, we read The Dot by Peter Reynolds.

Students then used their cutting skills to trim multi-colored squares into small, medium, and large circle shapes. After pasting the circles down, recycled paper tubes and corks were used to print large and small circles or dots all around their papers. I like how some of the kids figured out they could print a small dot inside a large one.

This simple project gave my preschoolers a chance to continue to hone their fine motor skills while also creating a bright, bold work of art!

Inspired by this art project on Art is Basic.

Image