Archive | color mixing RSS feed for this section

3RD GRADE PATTERN PUMPKINS

30 Sep

P1060227

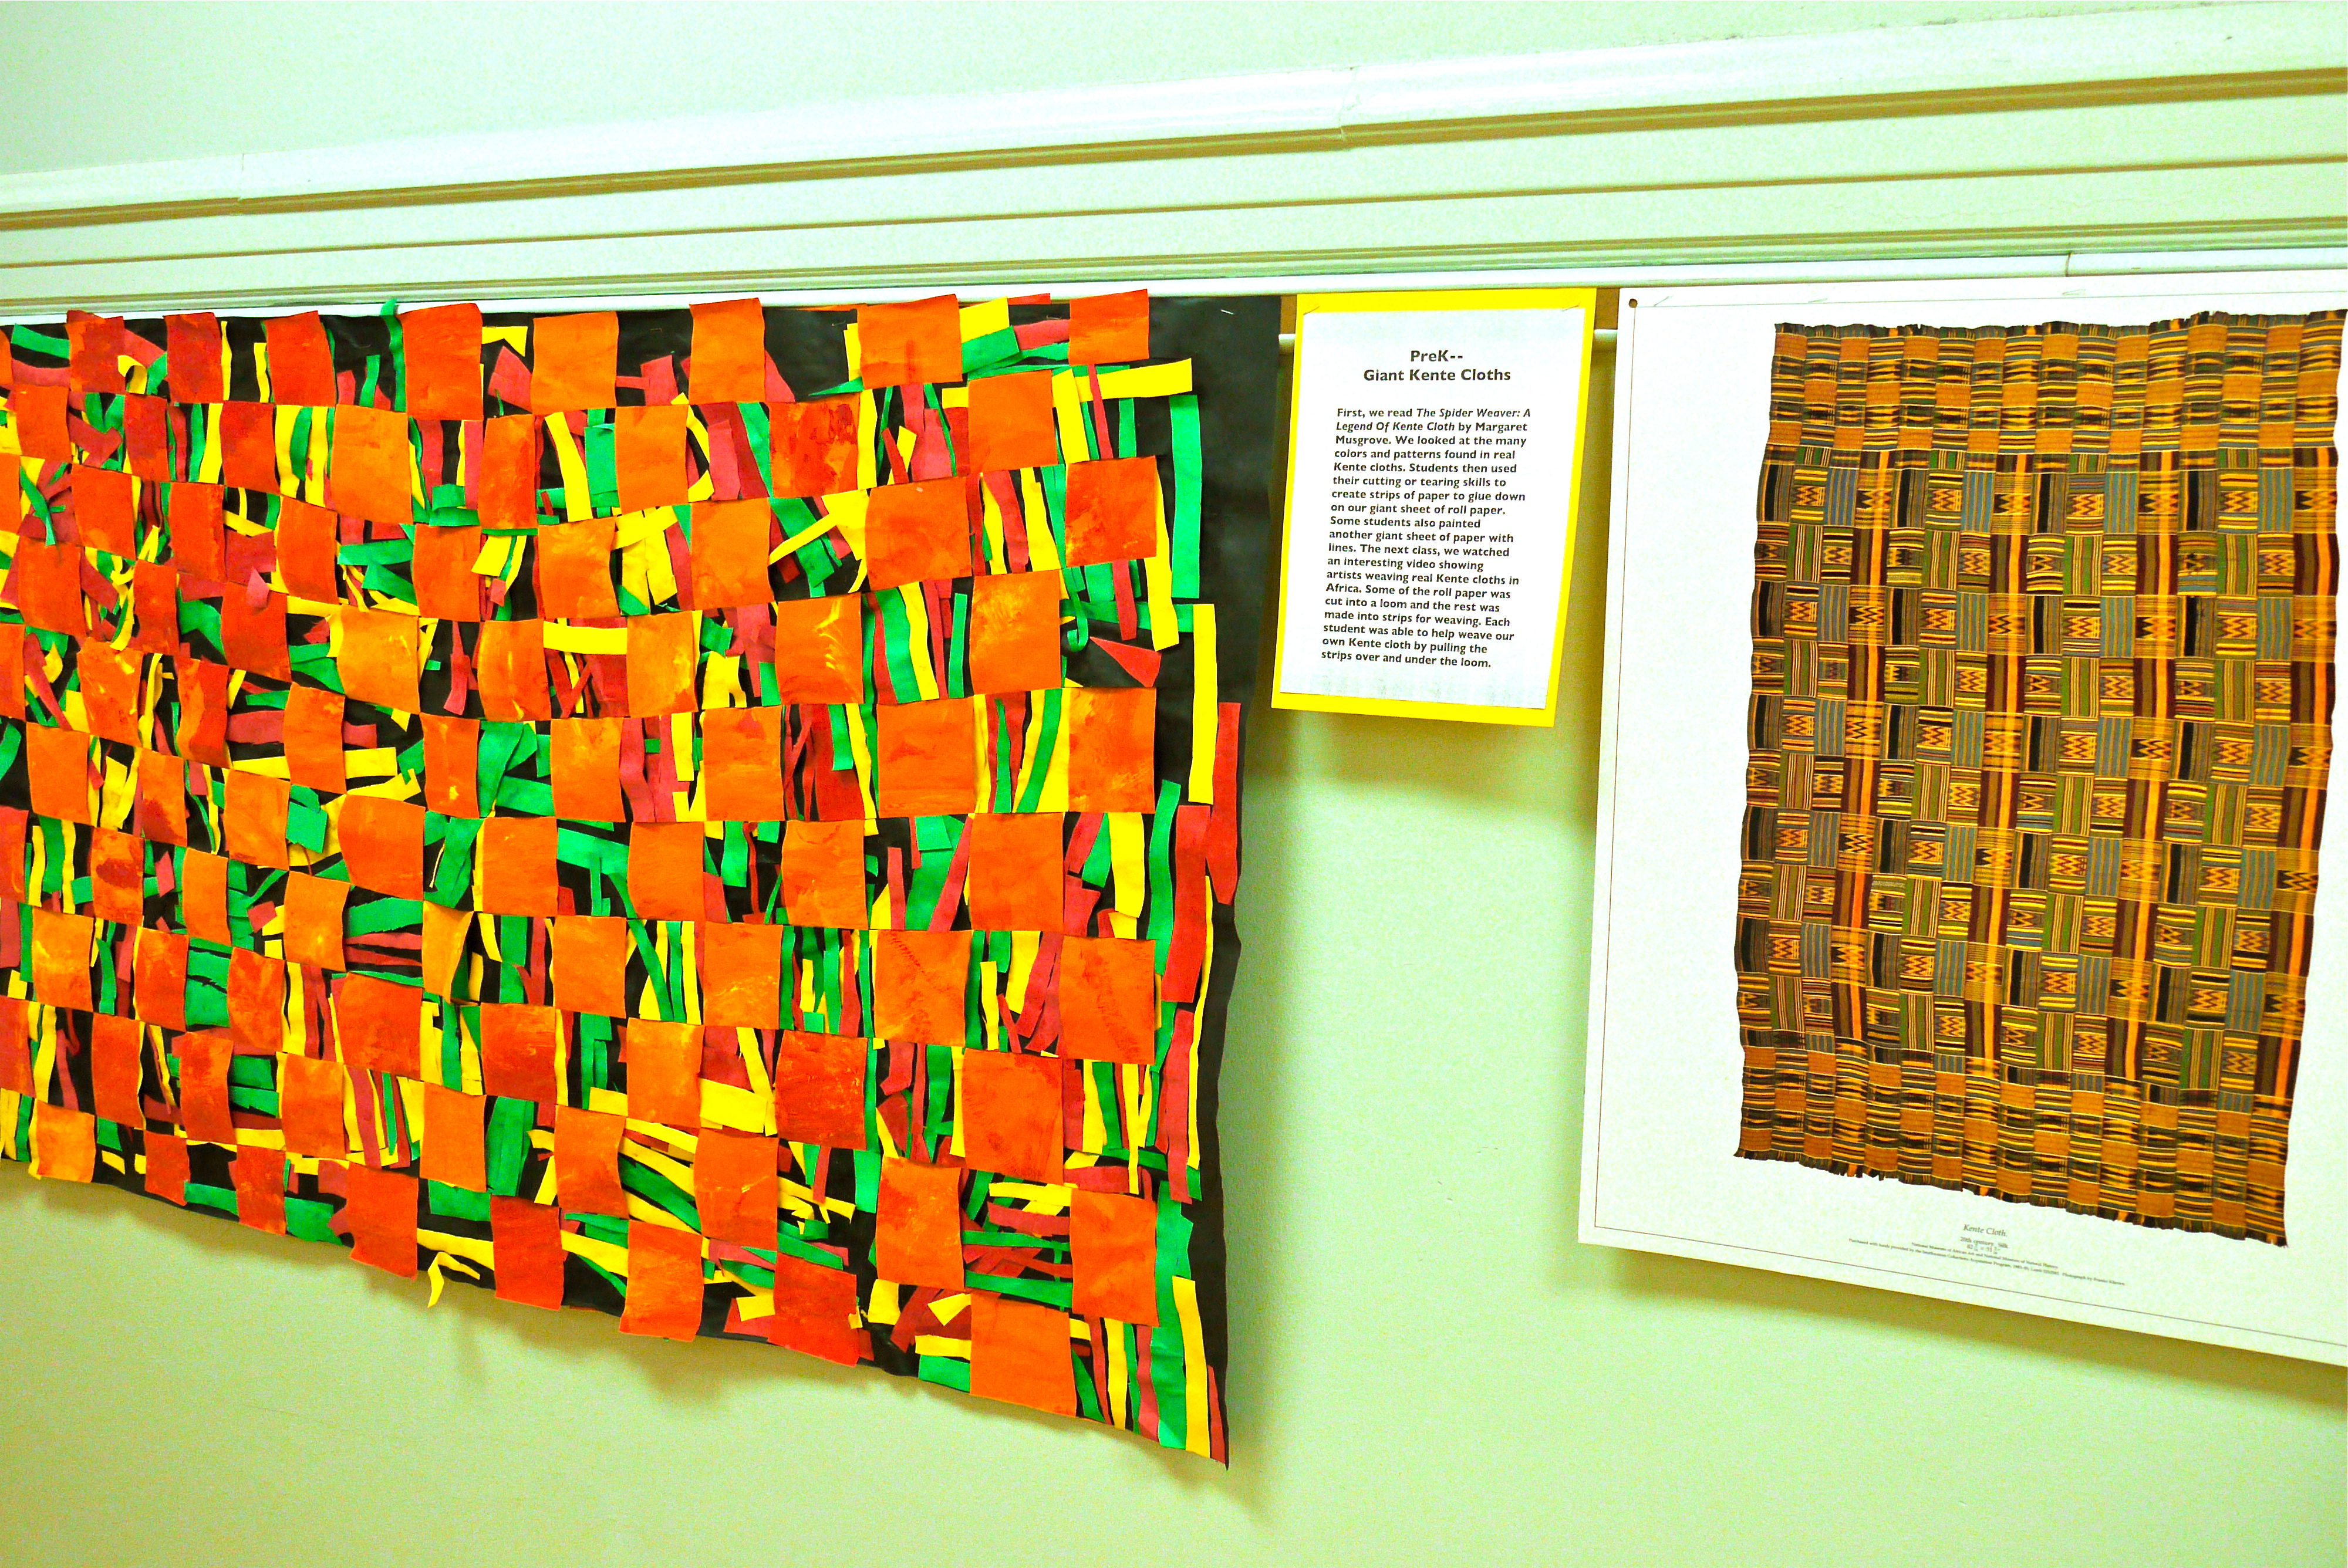
We have been busy settling into the new school year and have just begun focusing on our fall-themed projects. The next month I will be posting some spectacular and colorful art projects created in the past autumn seasons. The leaves here in Wisconsin have just started to change so what perfect timing!

This was a lesson third grade students worked diligently on last fall. We started the lesson by observing a real pumpkin and making a list of adjectives to describe it. Students noticed that the pumpkin was shaped like a sphere with curved lines that started at the stem. These lines also gave the pumpkin a bumpy texture. We practiced drawing the pumpkin from life, making sure to carefully observe each detail in order to create the most realistic pumpkin. Once confident, students drew another large pumpkin on their final papers. They then drew two diagonal lines to create a background.

pumpkin pattern2

The next class, students again observed the pumpkin and came up with a list of colors they noticed. We practiced mixing new colors out of yellow, orange, white, and brown paint. This was by far the most joyful part of the project as students were amazed at all the new color combinations they were able to create. They blended colors for the pumpkin then also had to mix 4 different tints for the background.

pumpkins pattern1

Lastly, students used their knowledge of line to create bold patterns for their backgrounds using black paint. The simple outlines and patterns also helped to emphasize their lovely pumpkins as well as all the great new color combinations created.

P1060220

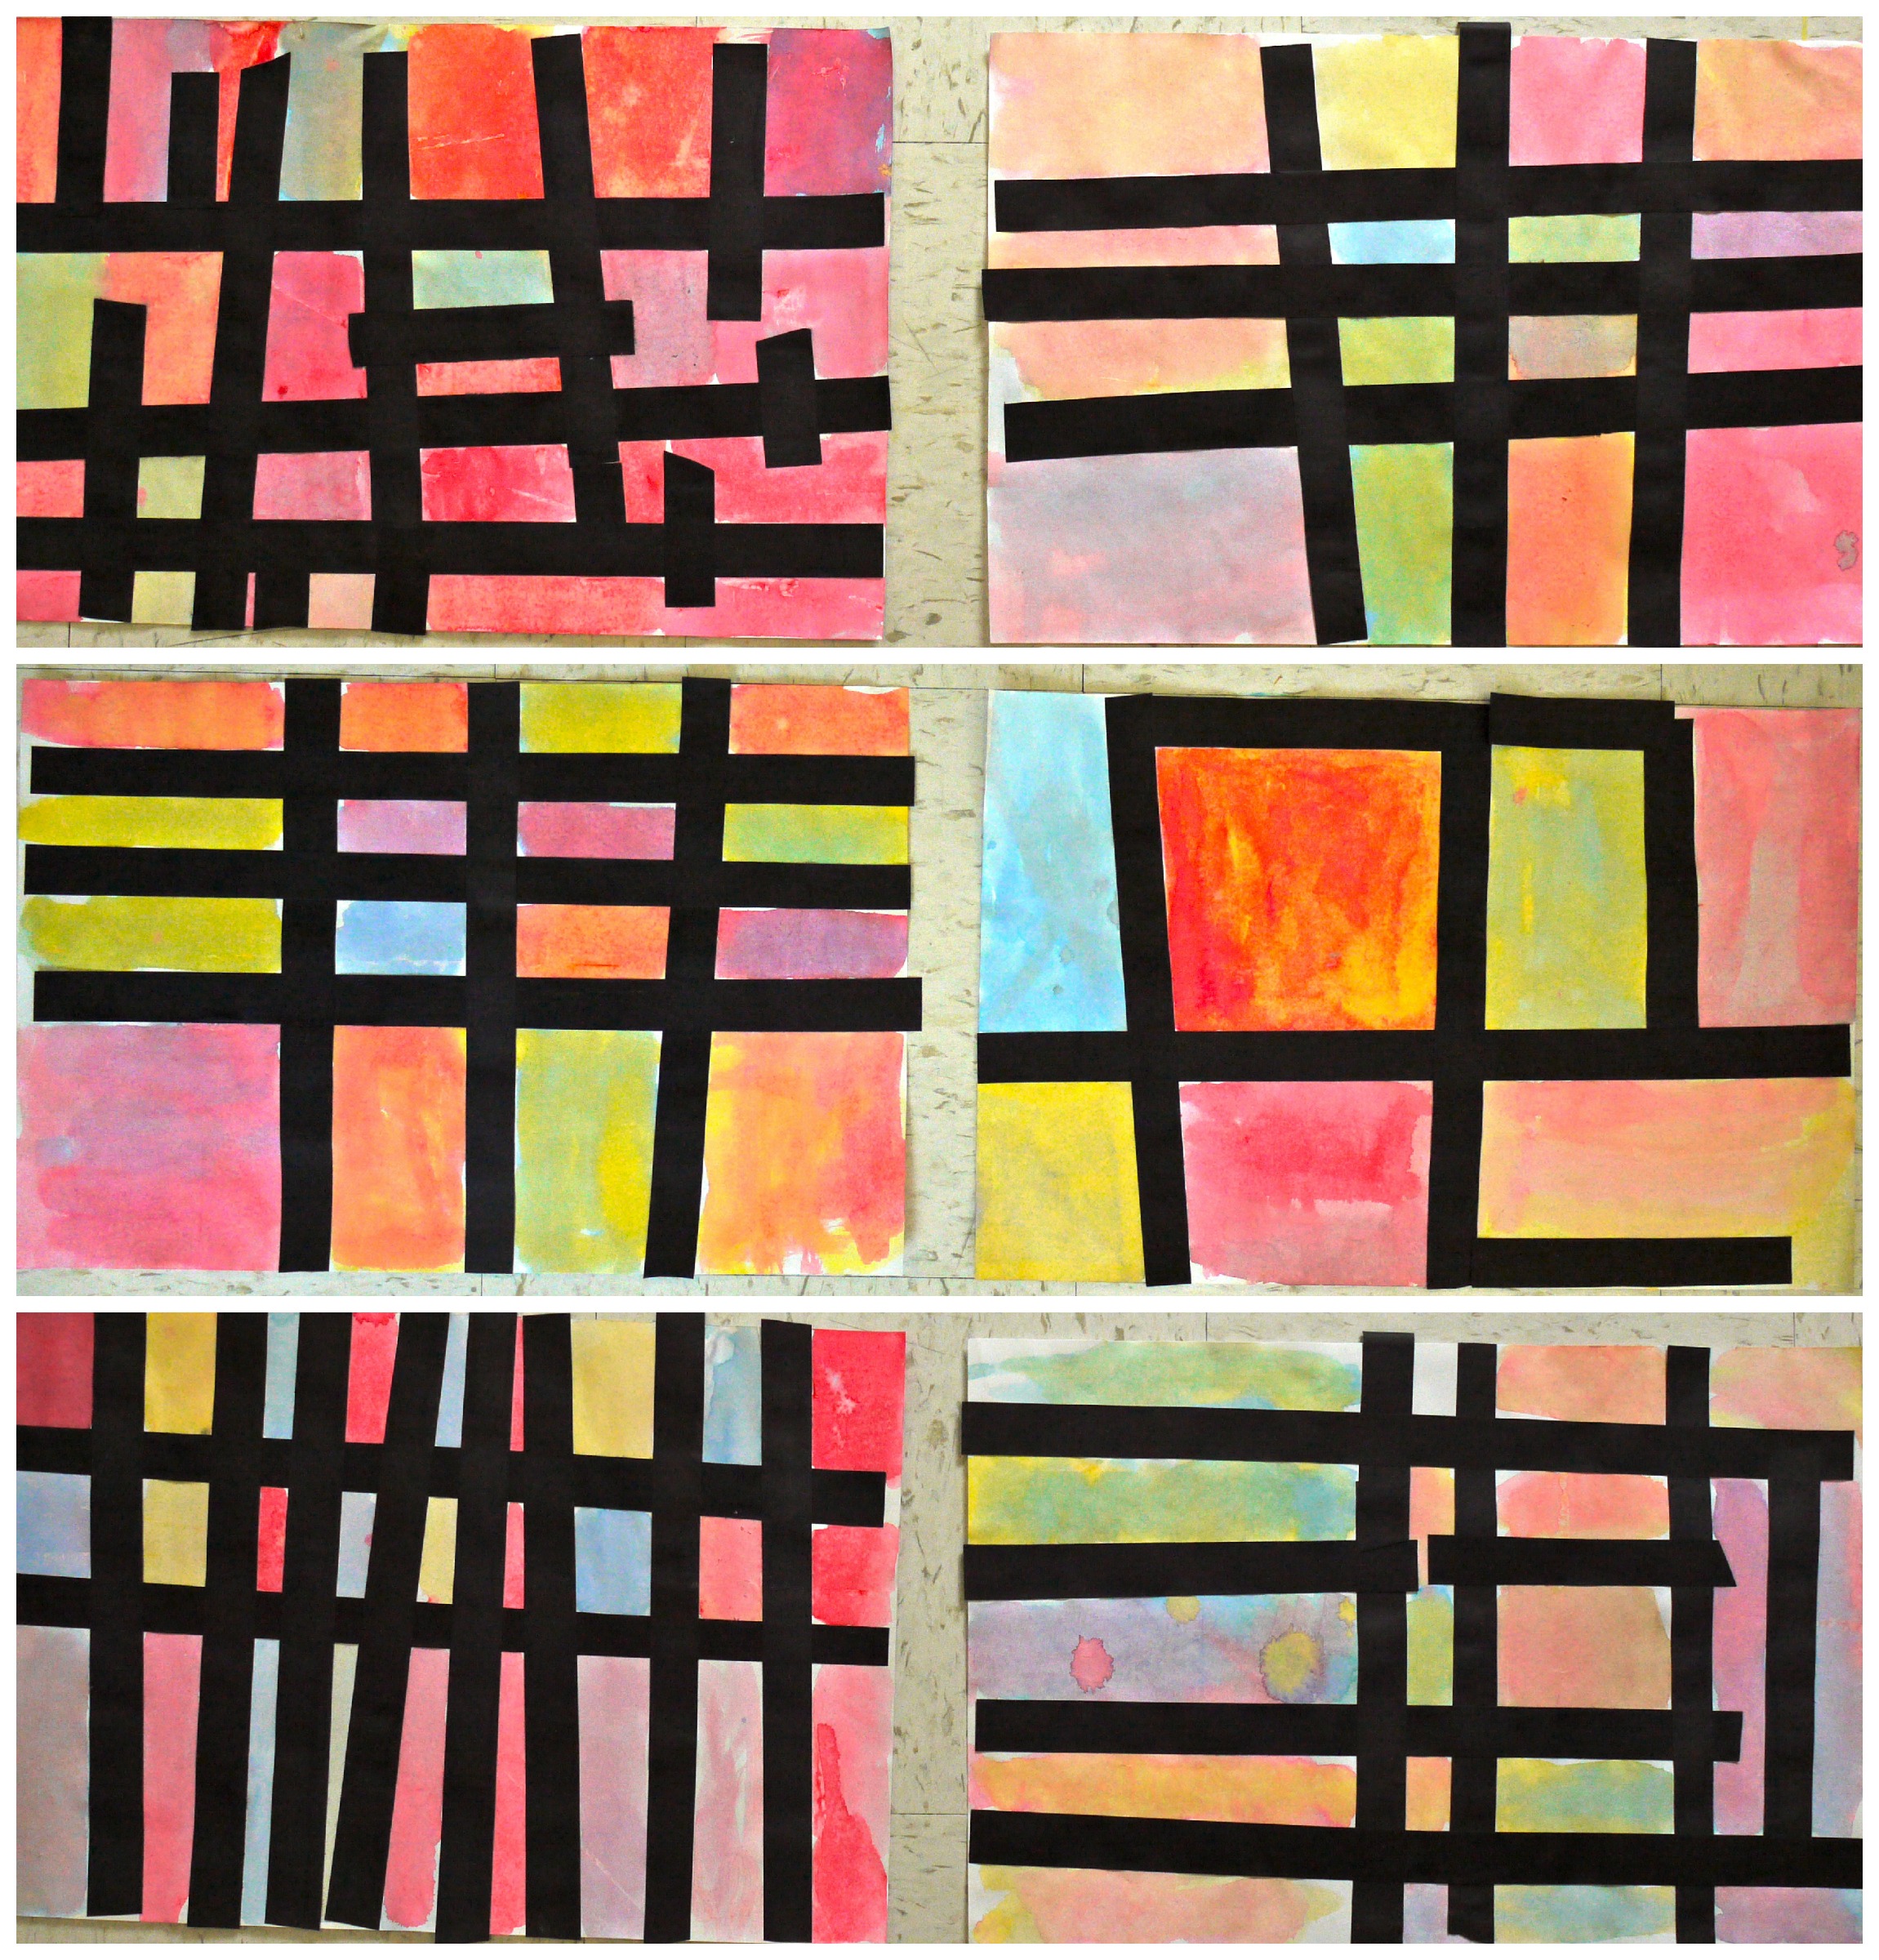
Inspired by this lovely pumpkin project.

PreK KENTE CLOTH COLLABORATION

8 Dec

Image

Closing out our African Art Unit, PreK students helped to make these giant collaborative Kente Cloths over four 30 minute class periods. First, students used their fine motor skills to practice cutting strips of paper in some of the traditional Kente cloth colors. The next class, students took turns gluing the strips to large butcher block sheets of black paper. The third class, they tried out some color mixing on oversized paper. For the grand finale, we watched this great video showing examples of the Kente cloth and artisans weaving them skillfully on large looms. We learned when you weave you have to go over and under like a pattern. Ahead of time I folded and cut the black collaged paper into a huge warp and the painted paper into strips for the weft. Students took turns weaving carefully until each Kente cloth was complete. What a statement they made!

Inspired by this project found on Artsonia.

 Image

Image

Image

ANNUAL PREK-5TH SPRING ART SHOW

13 May

Image

Image

We recently held our all school Spring Art Show for students and their families. I displayed our latest projects plus a sampling of the wonderful artwork created throughout the year. Every child had at least one piece of artwork on display. The PTA and many of my awesome colleagues helped with an Ice Cream Social that night as well, which really seemed to bring in tons of families. My principal has been really trying to get our families more involved in the school and it was great to see such a huge turnout for our art night. Enjoy some more photos from the big night!

Image

Image

Image

Image

Image

Image

Image

Image

Image

Image

Image

Image

1ST GRADE THE TINY SEED COLLAGES

24 Apr

Image

Here is another literature inspired art lesson–a 1st grade flower collage inspired by Eric Carle’s The Tiny Seed. Students first created the background collage using various types of blue tissue and crepe paper. Next, they experimented with color mixing, creating painted textured papers in the style often found in Carle’s illustrations. The following class the students created these vibrant, simple flowers using their painted papers. For a final flourish, seeds were glued to the center just like in the story. Looks like spring!

ImageImage

4TH GRADE GEORGIA O’KEEFFE FLOWER CLOSE-UPS

12 Apr

Image

Image

I have done this Georgia O’Keeffe flower lesson the last two years with my 4th grade students. We start out the lesson by viewing a Powerpoint showcasing some of O’Keeffe’s flower paintings as well as interesting facts about her life, including that she was born right here in Wisconsin. We discover how she wanted to paint flowers big so that even busy people would stop to notice their beauty and intricate detail. Some of my favorite books to share about O’Keeffe during this unit are:

My Name Is Georgia: A Portrait by Jeanette Winter

Through Georgia’s Eyes by Rachel Victoria Rodriguez

Georgia Rises: A Day in the Life of Georgia O’Keeffe by Kathryn Lasky

I also laminated a huge stack of flower photographs (recycled junk mail from a seed catalog!) for reference as they began their first sketches. This was a great way to bring in some science. The main goal of the lesson was to zoom in on the flower, making sure to capture each tiny detail as inspired by O’Keeffe’s style. Students drew their final flowers with pencil on black 12 x 12 paper, outlining their drawings with glue. Once the glue dried, we reviewed O’Keeffe’s paintings, noticing how smoothly her colors blended, often using monochromatic tints and shades. Students tried creating this effect by coloring thickly with similar shades of their chosen color using oil pastels. Check out all their details–what a success!

Image

Image

K MONDRIAN INSPIRED COLOR MIXING

31 Mar

Image

My youngest students always find our color mixing unit so magical. My favorite book to introduce the concept is Mouse Paint by Ellen Stoll Walsh. They love guessing what colors the mice will mix up next and I find many of my students I had previously in PreK will actually remember the formula for creating new colors! They are amazed that you can create so many new colors out of the three primaries.

After talking about the primary colors, I showed them a Powerpoint of Mondrian paintings, where we noticed that he used lots of rectangles and squares as well as the primary colors. They made a collage with black paper strips, creating different sized rectangles and squares.

The next class we went over the color mixing formulas. I worked with the students in small groups, making sure to only keep two primary colors at each table. So, I had an orange table, a green table, and a purple table. This really helped to give them the full color mixing experience rather than ending up with brown paint all over their papers. They mixed the colors inside each square or rectangle. They all had such a blast and were thrilled to discover they really could make a new color just by mixing two primary colors. Success!

Inspired by this project found on Artsonia.

3RD GRADE COLOR EMOTION MONSTERS

26 Mar

Image

3rd grade students enjoyed exploring the relationship between color and emotion for this project. To introduce the lesson, I read My Many Colored Days by Dr. Seuss. The vibrant oil painted illustrations related beautifully to the emotions being described by color. Students then chose the emotion they wanted to represent and picked the color that went best with it. They learned how to create tints and shades of one color using white and black tempera paint. They were amazed to find how many different versions of their color they were able to mix.

The second class, we read Glad Monster, Sad Monster by Ed Emberely. We noticed how each monster’s features were made up of simple shapes and different shades of a similar color. Students were challenged to create their emotion monster only using the colors found in their paintings completed the previous class. We talked about facial expressions and how you can tell how someone is feeling by observing their face. The students did a great job at representing their monsters’ emotions using color and facial features. To wrap up the lesson, each student filled out a bio sheet with their monster’s name, emotion, and a few fun facts about him or her. They loved it! Such personality…

Image

Image

Image

K WATERCOLOR WINTER LANDSCAPE

1 Mar

Image

Image

This Kindergarten project from last year went along the same lines as my PreK’s winter mural. Again we read the book Little Tree by e.e. cummings, which has lovely watercolor illustrations. Students used soft, cool colors to paint a winter sky using a watercolor wash technique. Everyone was so quiet and focused as they painted their papers. Their favorite part was sprinkling on a little salt to give it a sparkly, unique texture. The next class students learned how to cut two triangles from one square shape. After they had a pile of triangles going, they glued on rectangle trunks to their watercolor paintings and built their trees on top. They ripped some white tissue paper pieces for a snowy texture. The last class, we read Snow by Cinthia Rylant, a book with descriptive, poetic verses of all the different types of snow. Students printed snow flakes using a q-tip onto their turquoise papers, the perfect frame for their peaceful winter landscapes. Notice the tiny, cozy cabin one of my kiddos added to hers.

Image

5TH GRADE RADIAL ROSE WINDOWS

20 Feb

Image

5th grade students viewed a youtube video showing photos of famous rose windows from around the world. We discussed the technique used to create a large stained glass window and spent the first day preparing a white paper with many overlapping colors of tissue paper, giving the effect of stained glass. The second class, students reviewed radial designs and how they always radiate or come out from the middle. After careful planning and sketching, they cut their prepared papers into shapes for their rose window designs.

Inspired by this project seen on Flickr.

Image

1ST GRADE JIM DINE INSPIRED HEART COLLAGES

14 Feb

Image

Image

My first grade students studied the beautiful heart paintings of Jim Dine. We zoomed in on the paintings to observe how many of his works were created using a painterly style with lots of colors. Students had a blast painting and mixing tints of warm and cool colors on their papers, making sure to let their brushstrokes show. The second day, hearts were cut out and students used the positive and negative parts of each painting to create a large heart collage. They sure brighten the hallways!

Inspired by this exhibit from Artsonia.